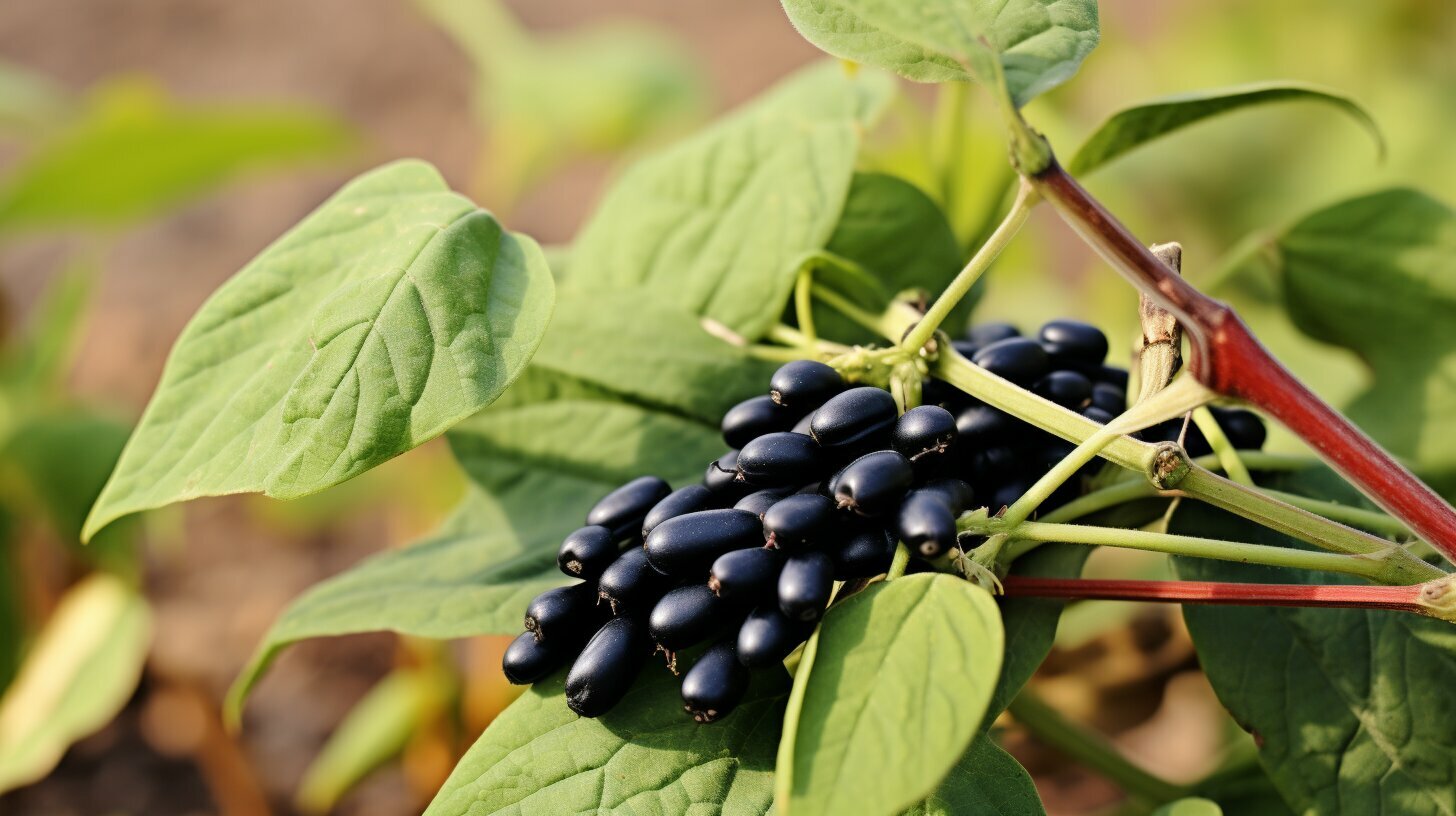
If you’re interested in growing black beans in your own backyard, you’re in luck! With the right conditions and proper care, you can maximize your black bean yield and enjoy a bountiful harvest. In this comprehensive guide, we’ll provide you with all the information you need to successfully grow black beans. From planting to harvesting, we’ll walk you through the process step-by-step and share expert tips and best practices for black bean farming.
Key Takeaways
- Successful black bean cultivation requires the right growing conditions and proper care.
- Choosing the right variety of black beans is important for maximizing your yield.
- Preparing the soil and planting your black beans correctly are crucial steps in the process.
- Proper watering, fertilization, and pest control are essential for healthy black bean growth.
- Learn when to harvest and how to store your black beans to ensure the best flavor and maximum yield.
- Be prepared for potential challenges and know how to prevent or overcome common black bean issues.
Understanding Black Beans: A Brief Introduction
If you’re considering growing black beans in your home garden, it’s essential to understand the basics of these legumes. Black beans are a warm-season crop that requires full sun and well-drained soil to thrive. They are commonly used in a variety of dishes and are a great source of protein, fiber, and other essential nutrients.
When it comes to planting black beans, there are a few important factors to consider. The best time to plant black beans is in late spring to early summer, once all danger of frost has passed. Black beans should be planted in rows that are spaced about 3-4 feet apart, with seeds placed at a depth of 1-2 inches. It’s also important to keep the soil moist but not waterlogged, especially during the germination period.
Disclosure: When you buy through links on our site, we may earn an affiliate commission.
If you’re new to black bean cultivation, it’s recommended to seek expert advice on planting techniques, fertilization methods, and pest control strategies. With the right knowledge and preparation, you can successfully grow black beans in your home garden and enjoy a bountiful harvest.
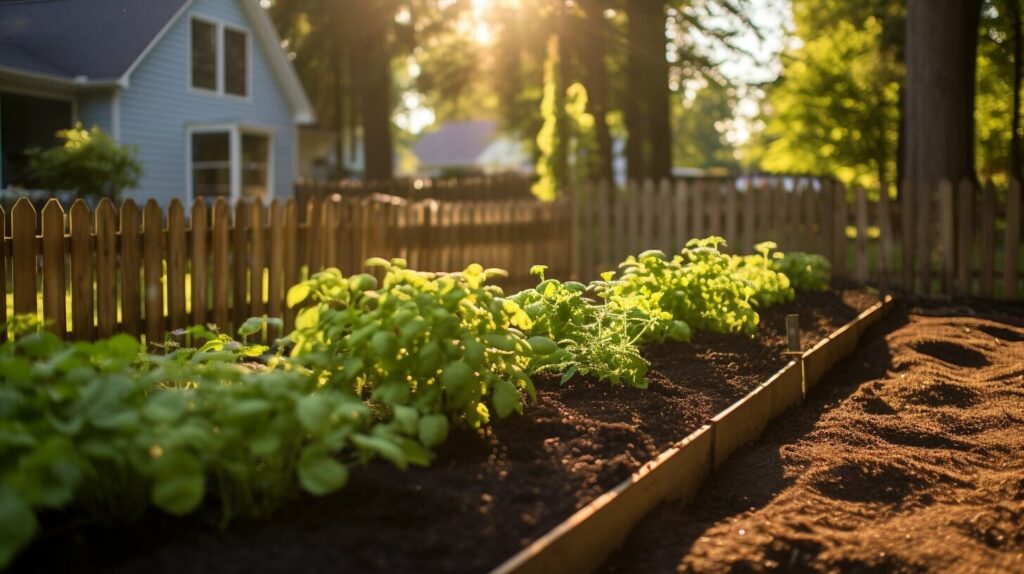
“Black beans are a warm-season crop that requires full sun and well-drained soil to thrive.”
Choosing the Right Variety of Black Beans
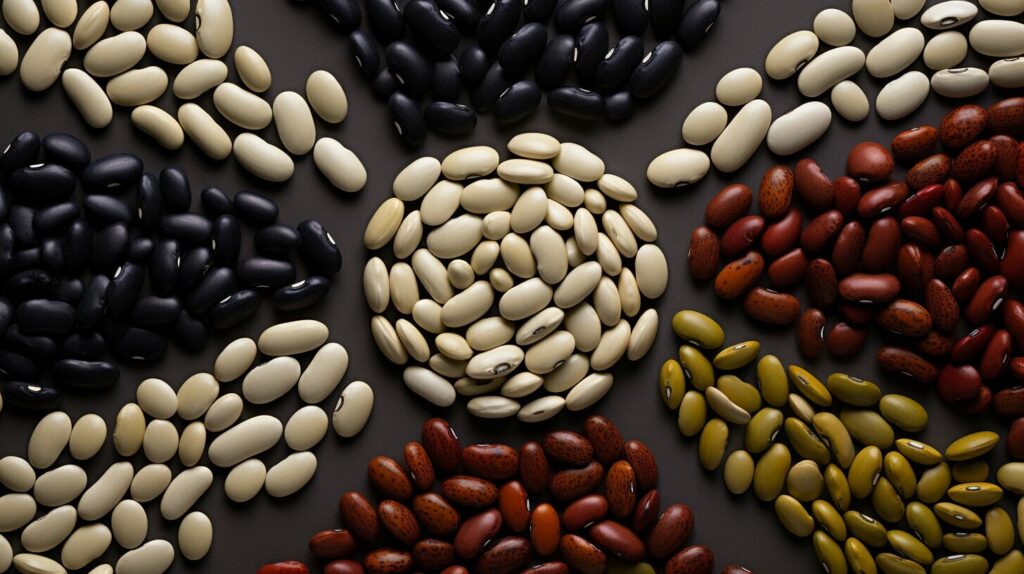
Black bean farming strategies are not one-size-fits-all. With several varieties available, choosing the right one for your growing conditions can make all the difference. When selecting a black bean variety, consider factors such as soil type, climate, and disease resistance. Some popular varieties you may consider include:
| Variety | Characteristics |
|---|---|
| Black Turtle | High yields, disease-resistant |
| Midnight | Early maturing, adaptable to different soils |
| Raven | Excellent flavor, drought-resistant |
Top tips for successful black bean cultivation include choosing a variety that suits your growing conditions, starting with high-quality seeds, and using proper planting techniques. Additionally, pay attention to your plants throughout the growth cycle and promptly address any issues that arise. By selecting the right variety and using best practices throughout the growing process, you’ll be on your way to a successful black bean harvest.
Preparing the Soil for Black Bean Planting
To ensure a successful black bean crop, it’s crucial to start with healthy soil. Before planting, test your soil to determine its pH level and nutrient content. Based on the results, amend the soil as needed to create an environment that will support optimal plant growth.
One important consideration when preparing the soil is the drainage. Black beans prefer well-draining soil, so if your soil tends to be heavy or compacted, consider incorporating sand or organic matter to improve the drainage. Additionally, make sure the soil is loose and friable to allow for proper root growth and nutrient uptake.
When planting, choose a location with full sun exposure and avoid areas prone to standing water. Black beans also perform best in soil with a temperature between 60-85°F, so wait until after the last frost date in your area to begin planting.
Finally, consider using a nitrogen-fixing cover crop like clover or vetch in the off-season to improve soil quality and promote healthy black bean growth.
Testing Your Soil
Before planting, take a soil sample and send it to your local extension office for analysis. This will provide valuable information about your soil’s pH, nutrient levels, and any potential deficiencies. Based on the results, you can then add appropriate amendments, such as lime for acidic soil or sulfur for alkaline soil. Aim for a pH level between 6.0-7.0 for black bean cultivation.
Amending the Soil
Compost, manure, and other organic matter are excellent soil amendments that can improve soil structure and provide essential nutrients for your black bean plants. Add a layer of compost or manure about 2-3 inches thick over the planting area and then work it into the top 6-8 inches of soil to ensure even distribution.
Another option is to use a balanced fertilizer with an N-P-K ratio of 10-10-10. Apply according to the package instructions before planting and then side-dress with additional fertilizer when the plants are about 6 inches tall.
Remember to avoid using fresh manure, as it can burn the plants and introduce harmful bacteria.
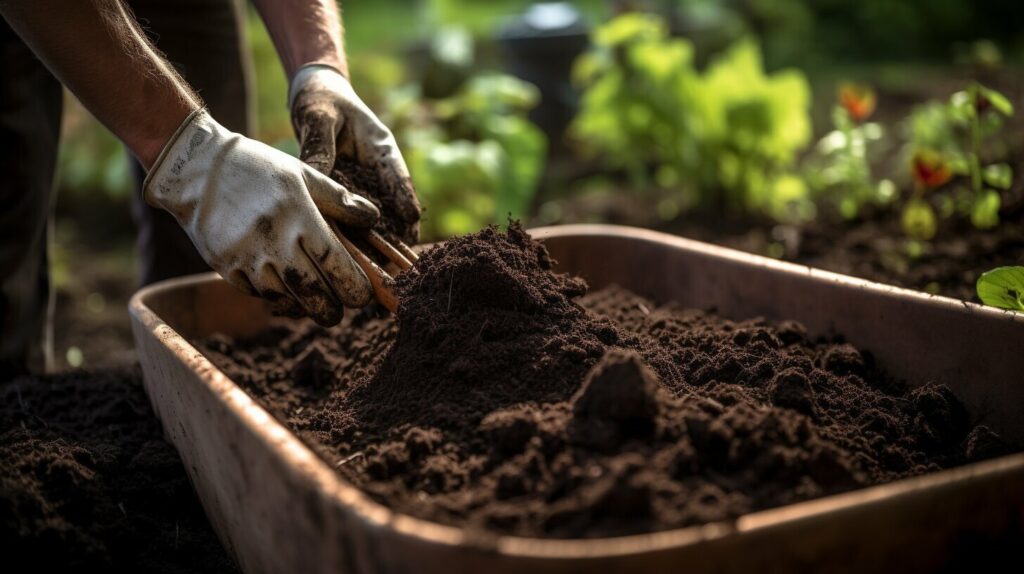
Tip: To maintain soil fertility, avoid planting black beans in the same location year after year. Instead, rotate your crops to prevent soil-borne diseases from building up.
Planting Black Beans: Step-by-Step Guide
Now that your soil is ready, it’s time to plant your black beans. Follow these step-by-step instructions for successful planting:
- Seed selection: Choose high-quality seeds from a reputable supplier. Look for seeds that are uniform in size and shape.
- Spacing: Black beans require at least 4-6 inches of space between each plant. Space your rows at least 18-24 inches apart to allow for sufficient growth and airflow.
- Depth: Plant your black beans 1-2 inches deep in the soil. Cover the seeds with soil and gently pat down the earth to ensure adequate contact with the soil.
- Watering: After planting your seeds, give them a thorough watering. Keep the soil moist, but not waterlogged, throughout the growing season.
- Sunlight: Black beans require full sun to thrive. Make sure your plants receive 6-8 hours of sunlight daily.
Remember, black beans are sensitive to frost and cold temperatures. Wait until after the last frost to plant your seeds.
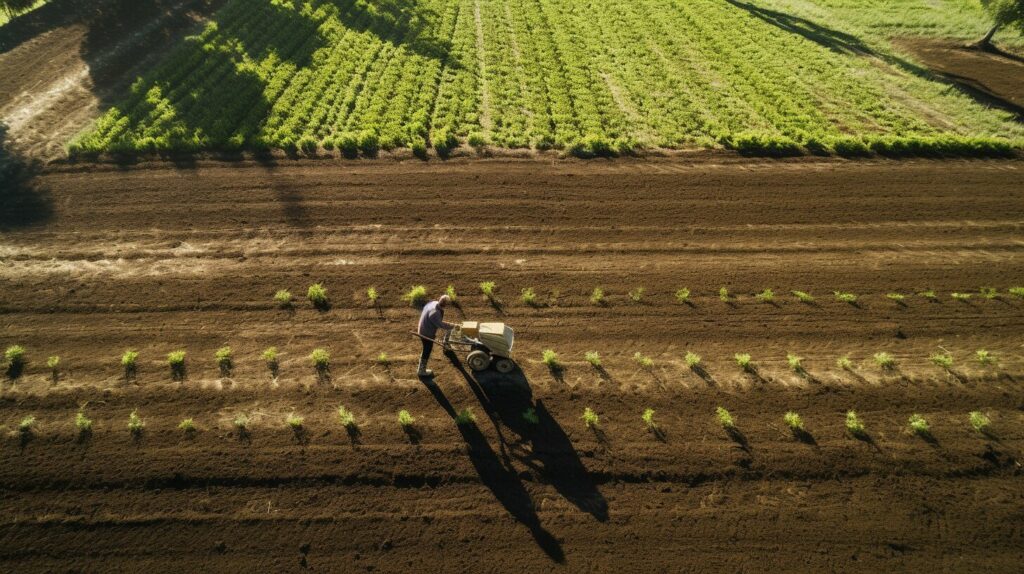
Tip: If you want to extend your black bean crop throughout the growing season, consider staggering your planting. Plant a new batch of seeds every 2-3 weeks for a continuous supply of fresh beans.
With the right planting techniques, your black bean seeds will quickly grow into healthy plants. In the next section, we will discuss how to care for your growing plants to ensure maximum yield.
Caring for Black Bean Plants: Watering, Fertilizing, and Pest Control
Proper care is essential to the growth and development of healthy black bean plants. Here are some cultivation tips and best practices for successful black bean farming:
Watering
Black beans require regular watering to maintain healthy growth. Watering should be done deeply and infrequently, ensuring that the soil does not become waterlogged. During the first few weeks after planting, water the seeds regularly to keep the soil continuously moist. As the plants mature, reduce the frequency of watering while increasing the amount of water applied each time.
Tip: It is best to water black beans early in the morning or late in the evening when the temperatures are cooler. Avoid watering during the hottest part of the day, as this can cause rapid evaporation and decrease water absorption.
Fertilizing
Black beans require adequate nutrients to support their growth and development. Fertilize the soil before planting with a balanced fertilizer, and apply additional fertilizer every 4-6 weeks during the growing season. Use a low nitrogen fertilizer to promote the growth of flowers and pods, rather than leaves.
Tip: Over-fertilization can lead to excessive vegetative growth, reducing the yield and quality of your black bean crop. Follow the recommended application rates on the fertilizer package and avoid applying too much.
Pest Control
Black beans are susceptible to various pests and diseases, which can lead to reduced yields and plant damage. Monitor your plants regularly for signs of insect infestations and fungal infections, and take prompt action to prevent or control the spread of these issues.
Tip: Use organic pest control methods, such as neem oil or insecticidal soap, to minimize the impact on the environment and protect beneficial insects.
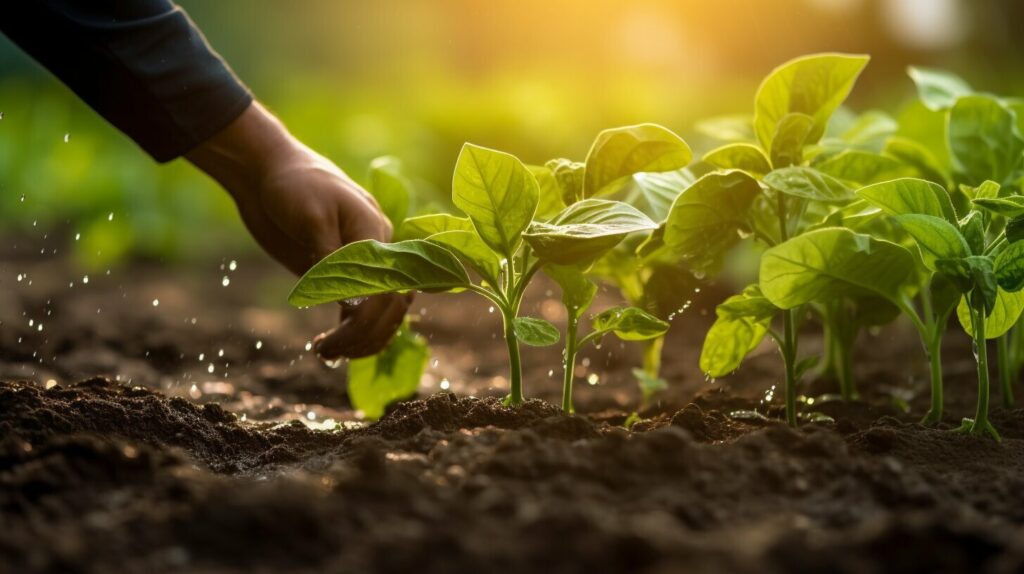
“Proper watering, fertilizing, and pest control are key components to a successful black bean harvest. Follow these tips to ensure healthy plant growth and maximize your yield.”
Harvesting and Storing Black Beans
After months of patiently cultivating your black bean plants, the time has finally come to harvest your crop. Follow these steps for successful harvesting and storage of your black beans.
Step 1: Determine the stage of maturity. Black beans typically mature in 90-120 days, depending on the variety and growing conditions. The pods will turn yellow or light brown and feel dry and papery to the touch when the beans are mature.
Step 2: Carefully remove the pods from the plant. You can either pick the pods by hand or cut entire branches and remove the pods later. Be gentle as you handle the pods to avoid damaging the beans inside.
Step 3: Remove the beans from the pods. Gently twist the pods to break them open and remove the beans. Discard any damaged or discolored beans.
Step 4: Dry the beans thoroughly. Spread the beans out on a flat surface in a well-ventilated area and let them dry for several days. Stir the beans occasionally to ensure that they dry evenly.
Step 5: Store the beans in an airtight container. Once the beans are completely dry, store them in an airtight container in a cool, dark place. Properly stored black beans can last up to a year.
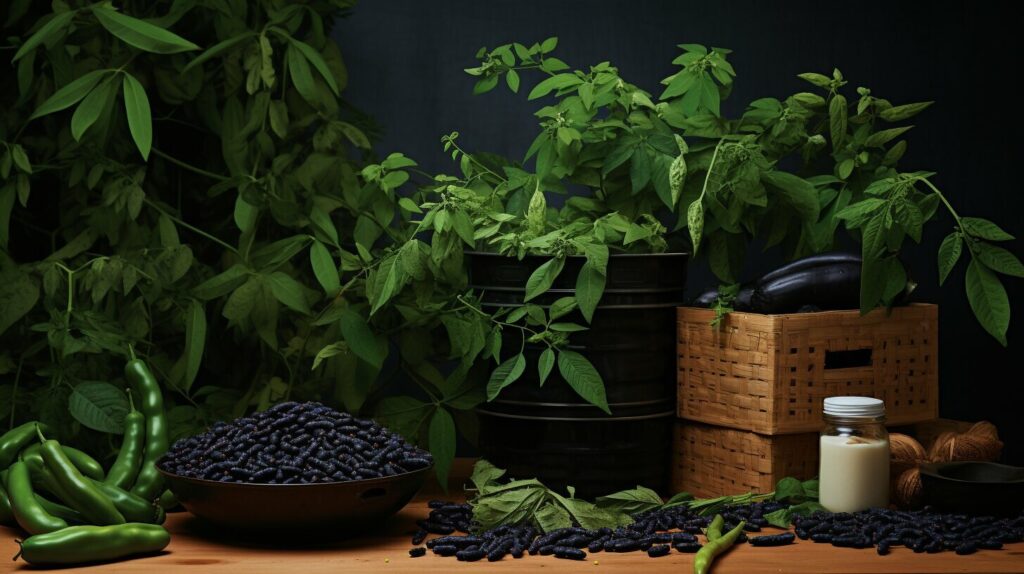
Remember, the key to maximizing your black bean yield is to harvest them at the right stage of maturity and store them properly. Enjoy the fruits of your labor in delicious dishes like black bean soup, burritos, and salads.
Troubleshooting Common Black Bean Issues
Black beans, like any other crop, may face certain challenges during their growth cycle. Here are some common issues you may encounter and expert advice on how to prevent or overcome them:
Stunted Growth
If your black bean plants appear stunted, it could be due to nutrient deficiencies or poor soil quality. To prevent this issue, make sure to amend your soil with compost and organic matter before planting. Additionally, consider using a balanced fertilizer during the growing season to provide your plants with the necessary nutrients.
Fungal Diseases
Black beans are susceptible to fungal diseases such as anthracnose and rust. To prevent these diseases, avoid planting your black beans in areas with poor air circulation and high humidity. Additionally, make sure to space out your plants appropriately to reduce the chances of fungal infections.
Insect Infestations
Insects such as aphids, bean beetles, and spider mites can damage your black bean crop. To prevent these pests, consider using natural insecticides such as neem oil or releasing beneficial insects such as ladybugs into your garden. Regularly inspect your plants and remove any infested leaves or pods to prevent the spread of pests.
Poor Yield
If your black bean plants are not producing a bountiful harvest, it could be due to poor pollination or lack of sunlight. Make sure to plant your beans in an area with full sun exposure and consider hand-pollinating your plants if necessary. Additionally, ensure your plants receive adequate water and fertilizer throughout the growing season.
By being proactive and taking steps to prevent these common black bean issues, you can ensure a successful harvest of healthy and delicious beans.
Conclusion
By following the step-by-step instructions, best practices, and expert advice provided throughout this article, you are well-equipped to embark on your journey of black bean cultivation.
Remember to choose the right variety of black beans for your growing conditions and to properly prepare the soil before planting. Make sure to care for your black bean plants by watering, fertilizing, and controlling pests.
When it’s time to harvest, handle your black bean plants with care and store your freshly harvested beans properly for the best flavor and yield. And if you encounter any issues during the growth cycle, refer to our troubleshooting section for expert advice.
Enjoy the process and savor the satisfaction of harvesting your very own homegrown black beans. We hope that this guide has been helpful in your black bean farming journey. Happy planting!
FAQ
Q: Do black beans require a lot of sunlight?
A: Yes, black beans thrive in full sunlight. They require at least 6-8 hours of direct sunlight per day for optimal growth.
Q: Can I grow black beans in containers?
A: Yes, black beans can be grown in containers as long as they have sufficient space and drainage. Use a container that is at least 12 inches deep and wide.
Q: How often should I water my black bean plants?
A: Black beans require regular watering, especially during periods of dry weather. Water the plants deeply once a week, ensuring that the soil is evenly moist but not waterlogged.
Q: What type of fertilizer should I use for black beans?
A: Black beans do not require heavy fertilization. A balanced organic fertilizer, such as a 10-10-10 blend, can be applied at planting time and again when the plants start to flower.
Q: How do I recognize when black beans are ready for harvest?
A: Black beans are ready for harvest when the pods turn completely dry and crisp. Shake the pods gently; if the beans rattle inside, they are ready to be harvested.
Q: How should I store harvested black beans?
A: Once harvested, black beans should be stored in a cool, dry place in airtight containers. Avoid exposure to moisture or direct sunlight to prolong their shelf life.
Q: What are some common pests and diseases that affect black bean plants?
A: Black bean plants are susceptible to pests such as aphids, bean beetles, and spider mites. Diseases like powdery mildew and bacterial blight can also affect their growth. Implement proper pest management techniques and monitor your plants regularly to prevent and control these issues.
Q: Can I save seeds from my harvested black beans for planting next season?
A: Yes, you can save seeds from your harvested black beans for planting in the next growing season. Make sure to select healthy, fully mature beans, and store them in a cool, dry place until you are ready to plant.

