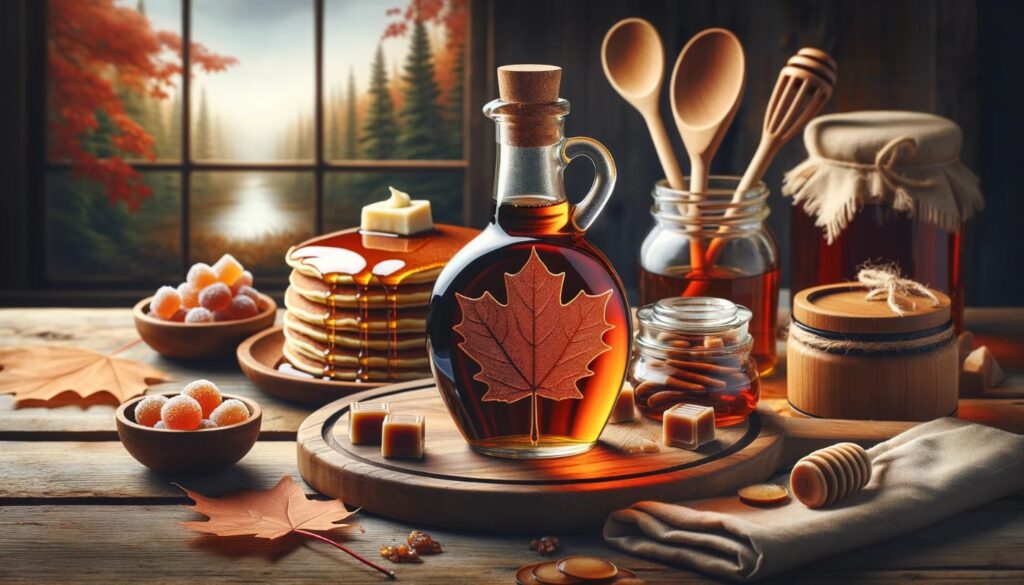
Have you ever wondered how maple syrup is made? If you’re a fan of this sweet treat, you’ll be delighted to know that you can make your own maple syrup right in your backyard by tapping maple trees. Maple tree tapping is an age-old tradition that produces delicious homemade syrup. In this beginner’s guide, we’ll take you through the steps involved in tapping maple trees and the production process of maple syrup.
Key Takeaways
- Learn the process of tapping maple trees for sap collection
- Discover the essential equipment needed for maple tree tapping
- Understand the optimal timeframes for collecting maple sap
- Follow step-by-step instructions on maple syrup production process
- Explore delicious recipes and creative uses for maple syrup
Why Tap Maple Trees?
Before you start tapping maple trees, it’s important to understand why it is worth the effort. Besides the satisfaction of producing your own maple syrup, tapping maple trees can be a fun and rewarding outdoor activity for the whole family. Plus, maple syrup is a versatile ingredient that can be used in a variety of recipes, from pancakes and waffles to baked goods and savory dishes.
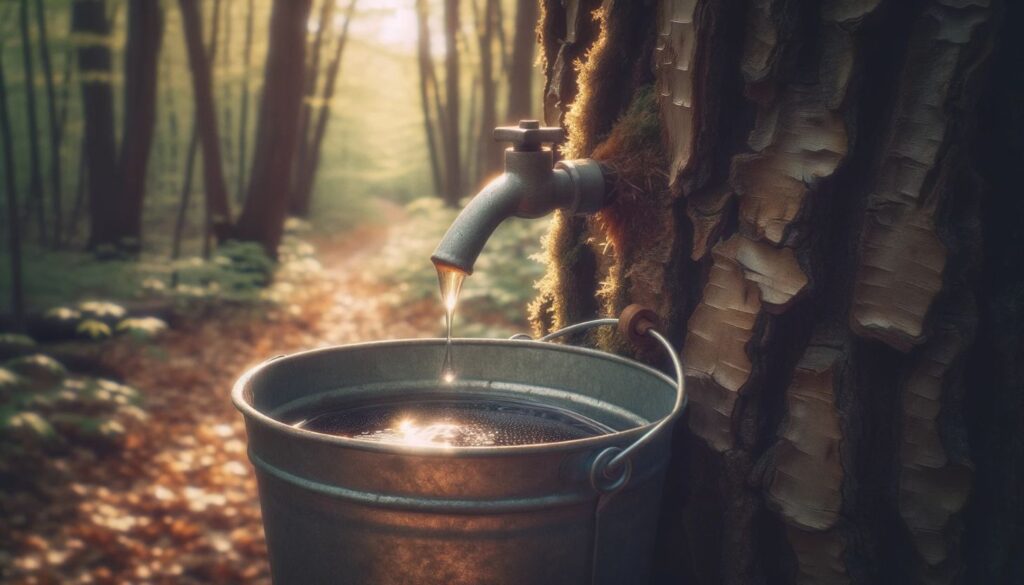
There are various maple tree tapping methods, but the most common is the traditional spile and bucket method. This involves drilling a small hole into the tree and inserting a spile to collect the sap, which then drips into a bucket.
Disclosure: When you buy through links on our site, we may earn an affiliate commission.
Collecting maple sap is a unique experience that requires a bit of knowledge and patience. The sap only flows for a few weeks in late winter or early spring when the temperatures fluctuate between freezing and thawing. The process starts when the snow starts to melt, and the trees begin to come out of their winter dormancy. It’s important to tap the trees at the right time to maximize sap flow and ensure a successful syrup production process.

Tip: Before tapping any tree, make sure it is at least 10-12 inches in diameter and healthy enough to handle the process.
To tap a maple tree, you’ll need some basic equipment, including a drill, spile, hammer, collection bucket, and lid. It’s important to use equipment that is specifically designed for maple tree tapping to ensure the best results.
In the next section, we’ll discuss selecting the right maple trees for tapping and the proper techniques for tapping them effectively.
Selecting Maple Trees for Tapping
To effectively tap a maple tree, the first step is to ensure that you have selected the right type of tree. Not all maple trees are suitable for tapping, so it’s important to correctly identify the right species. The two varieties commonly used for maple sap production are the Sugar Maple tree and the Red Maple tree. Of the two, Sugar Maple trees are the preferred choice due to their higher sugar content.
To identify a Sugar Maple tree, look for the following characteristics:
| Feature | Description |
|---|---|
| Bark | Gray-brown with deep grooves and ridges forming interconnecting diamond shapes. |
| Leaves | 5-lobed leaves with smooth edges, measuring approximately 3-5 inches in diameter. |
| Branches | Opposite arrangement with a U-shaped angle between the branch and the leaf stem. |
If you don’t have access to a Sugar Maple tree, Red Maple trees can also be tapped for sap. These trees have a slightly lower sugar content, but the sap can still be used to make maple syrup.
How to Tap Maple Trees
Once you’ve identified suitable maple trees, it’s important to use the proper tapping techniques to avoid damage to the tree and ensure successful sap collection. Here are the step-by-step instructions for tapping maple trees:
- Choose a tree that is at least 10 inches in diameter and healthy.
- Find a spot on the trunk that is south-facing and receives plenty of sunlight.
- Drill a hole approximately 2-2.5 inches deep, using a 7/16 inch drill bit. The hole should be at a slight upward angle to promote sap flow.
- Insert a spout into the hole, making sure it fits snugly and is facing downward.
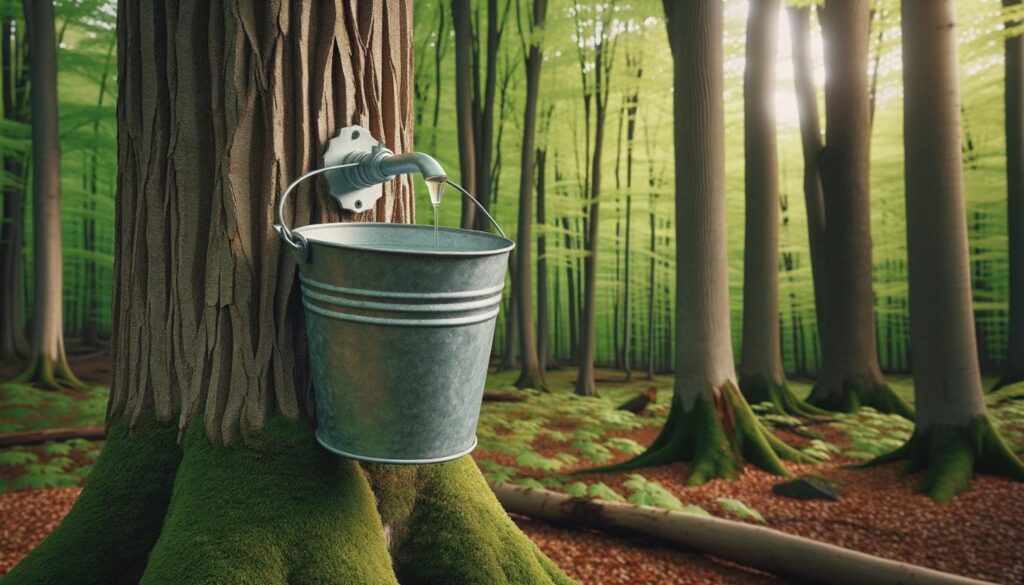
- Hang a collection bucket or attach tubing to the spout to collect the sap.
- Cover the bucket or tubing system with a lid or cap to prevent debris and insects from getting into the sap.
- Check the collection bucket or tubing system daily, collecting the sap and replacing the lid or cap.
- Remove the spout and plug the hole with a wooden dowel once the sap flow slows down or the trees have budded.
It’s important to note that each tree should only have one tap, regardless of its diameter. Over-tapping can cause damage to the tree and reduce its overall sap production.

Essential Equipment for Maple Tree Tapping
To tap maple trees, you’ll need specific equipment. Here is a list of essential tools required for maple tree tapping:
| Equipment | Description |
|---|---|
| Tree Spouts | These are used to tap the maple trees. They come in different sizes, so it’s important to select the right one for the tree you’re tapping. A 5/16-inch spout is the most commonly used size. |
| Collection Buckets | These are used to collect the sap that comes out of the tree. They can be made of plastic or metal and come in different sizes. A 5-gallon bucket is the most commonly used size. |
| Tubing Systems | These are used as an alternative to buckets, and are designed to collect sap that flows through tubing from multiple trees. Tubing systems are more efficient at collecting sap and require less maintenance than buckets. |
It’s important to note that while the above equipment is essential, there are other tools that can be helpful, such as a cordless drill for making tapping holes, a hammer for tapping in the spouts, and a tubing releaser for removing sap-clogged tubing.
You can find maple tree tapping equipment at most hardware stores or online retailers. When purchasing equipment, ensure it is of good quality, and always follow the manufacturer’s instructions for proper use and set up.
Timing is Everything: When to Tap Maple Trees
The key to a successful maple tree tapping season lies in timing. Not tapping the trees at the right time can lead to poor sap flow and lower syrup quantities. It’s crucial to tap when the temperature is just right to maximize sap flow. Typically, the best time to tap maple trees is in late winter to early spring, when daytime temperatures are consistently above freezing (around 40°F/4°C) and nighttime temperatures are below freezing (around 20°F/-6°C).
It’s also important to keep an eye on weather patterns. A sudden warm spell can cause the sap to spoil, affecting the flavor and quality of the syrup. Similarly, extended cold spells can cause the sap to stop flowing altogether. We recommend monitoring the weather and tapping the trees accordingly.
Optimal Tapping Timeframes
| Region | Optimal Tapping Timeframe |
|---|---|
| New England | Late February to early April |
| Midwest | Mid-February to mid-March |
| Appalachians | Early to mid-February |
| Canada | March to April |
If you’re unsure about the best time to tap maple trees in your area, consult with local maple producers or agriculture extension offices for guidance.
By tapping your maple trees at the right time, you’ll be on your way to a successful syrup production process and a delicious homemade sweet reward.

Collecting Maple Sap
Now that you have tapped your maple trees, it’s time to collect the sap. Maple sap flows best in temperatures above freezing during the day and below freezing at night, typically from late February to early April. You can collect sap from the spouts using buckets or a modern tubing system.
Collecting Sap with Buckets
If you choose to collect sap with buckets, you’ll need to regularly check and empty them. Make sure to properly label buckets according to the specific tree from which the sap came.
When collecting sap, it’s important to handle it properly to prevent contamination. Keep an eye out for debris or bugs that may have fallen into the buckets, and remove them immediately. Store the sap in a cool, shaded location until you’re ready to start the maple syrup production process.
Collecting Sap with Tubing Systems
While buckets may be the traditional method of collecting maple sap, tubing systems offer a more efficient and modern alternative. These systems are designed to collect sap from multiple trees and channel it directly to a central collection point. This method requires less maintenance and reduces the risk of contamination.
To set up a tubing system, connect the tubing to the spouts and run it downhill towards the collection point. Check the tubing regularly to ensure it hasn’t become disconnected or damaged.
Regardless of the collection method used, it’s important to process the collected sap as soon as possible to maintain its quality.
Maple Syrup Production Process
Now that you’ve collected the maple sap, it’s time to turn it into delicious maple syrup through a unique production process. Here are the steps involved:
- Filter the sap: First, you’ll need to filter the sap to remove any impurities or debris. You can do this by pouring the sap through a filter, such as cheesecloth or a coffee filter.
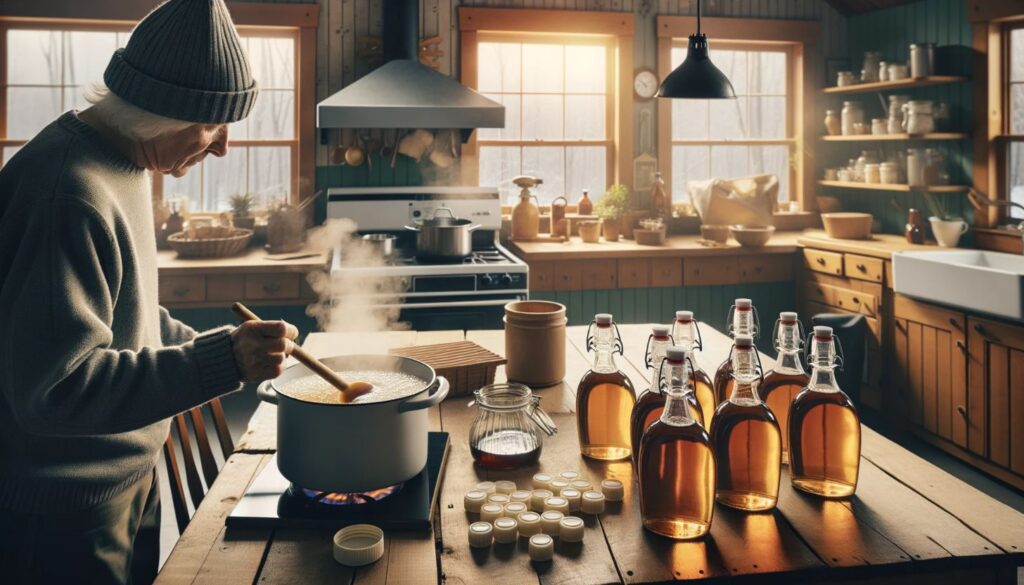
- Boil the sap: Next, you’ll need to boil the sap to remove the water content and concentrate the sugar. This can be done using a large pot over a stove or an outdoor maple syrup evaporator. It’s essential to monitor the boiling process carefully to avoid burning the syrup.
- Check the sugar content: Throughout the boiling process, you’ll need to check the sugar content using a hydrometer. The sugar content should reach around 66%, indicating that the maple syrup is ready to be finished.
- Finish the syrup: To finish the syrup, you’ll need to filter it once more to remove any remaining impurities. You may also choose to skim the foam that forms on the surface. Next, heat the syrup to approximately 180°F to kill any bacteria and improve the syrup’s shelf life.
- Bottle the syrup: Once the syrup has been finished, it’s time to bottle it for storage or consumption. You can use glass or plastic containers, making sure they are clean and have a tight seal to prevent air from getting in. Store your homemade maple syrup in a cool, dark place to ensure it stays fresh for months to come.
Understanding the maple syrup production process is crucial to achieving a high-quality, delicious syrup. By following these steps, you’ll be able to produce your very own maple syrup right from your backyard!
Finishing and Bottling Maple Syrup
Once you have completed the production process, the next step is to finish and bottle your maple syrup. This is a crucial step in ensuring that your syrup is of the highest quality and can be safely stored for long-lasting enjoyment. By following these guidelines, you will have delicious homemade maple syrup that is perfect for pancake breakfasts and other culinary creations.
Filtering Maple Syrup
The first step in finishing maple syrup is to filter it to remove any impurities. This is typically done using a filter cone and paper. Place the filter cone over a clean container and slowly pour the syrup through the filter. This will remove any solids or particles that may be present in the syrup, resulting in a smooth and clear final product.
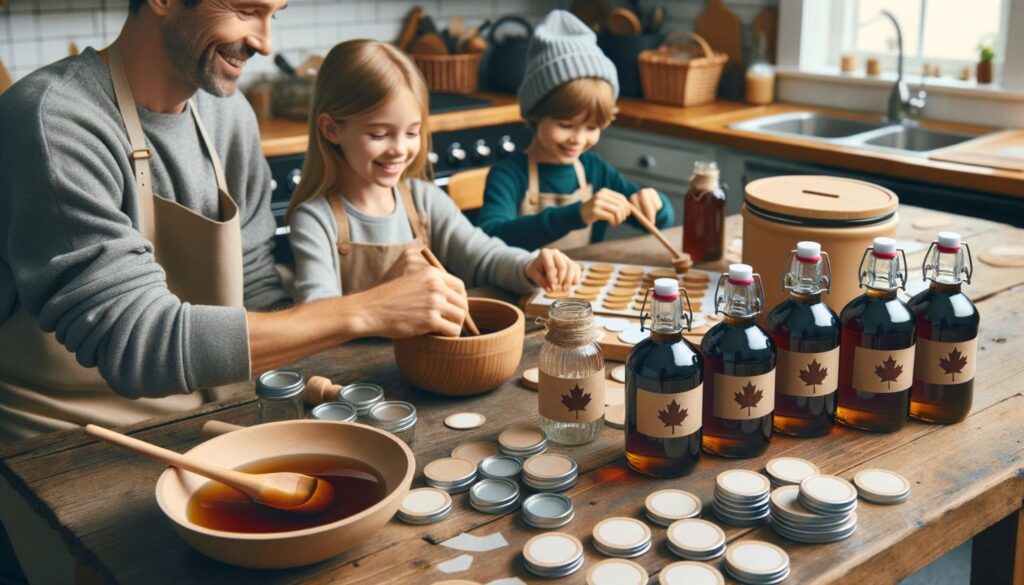
Bottling Maple Syrup
After filtering the syrup, it’s time to bottle it for storage or consumption. Use clean glass bottles or jars that can be sealed tightly. Make sure the bottles are warm before pouring in the syrup to prevent the syrup from cooling too quickly and solidifying.
When filling the bottles, leave about 1/4 inch of headspace at the top to allow for expansion during storage. Wipe the rim of each bottle with a clean cloth to ensure a proper seal. Screw on the lids tightly and label the bottles with the date and a description of the syrup. Store the bottles in a cool, dry place away from direct sunlight.
Maple Syrup Grades
Maple syrup is graded based on its color and flavor profile. The different grades are typically used for different purposes, but all have their own unique characteristics. The grades include:
| Grade | Color and Flavor Profile | Uses |
|---|---|---|
| Grade A: Golden Color with Delicate Taste | Light gold, mild and sweet flavor | Table syrup, pancakes, waffles, yogurt |
| Grade A: Amber Color with Rich Taste | Medium amber, full-bodied and robust flavor | Baking, glazes, cooking, marinades |
| Grade A: Dark Color with Robust Taste | Dark amber, strong and bold flavor | Cooking, baking, barbecue sauces |
| Grade B: Very Dark Color with Strong Taste | Very dark, intense and strong flavor | Cooking, marinades, flavorings |
Choose the grade that best suits your taste preferences and intended use.
“There’s something special about having your own homemade maple syrup. The satisfaction of producing something on your own and sharing it with others is truly rewarding.”
Recipes and Creative Uses for Maple Syrup
Maple syrup’s distinct flavor makes it a versatile ingredient for both sweet and savory dishes. Here are some delicious recipes and creative ways to use your homemade maple syrup:
Pancakes and Waffles
No brunch is complete without the classic combination of pancakes or waffles with maple syrup. Upgrade your morning meal by making your own pancakes and waffles from scratch and topping them with your homemade maple syrup.

Maple-Glazed Carrots
For a savory twist, try this recipe for maple-glazed carrots. Roast carrots in the oven with a mixture of maple syrup, butter, and spices for a delicious side dish that will leave your taste buds wanting more.
| Ingredients | Instructions |
|---|---|
| 6 large carrots, peeled and cut into uniform pieces | Preheat oven to 400°F. Line a baking sheet with parchment paper. |
| 3 tablespoons maple syrup | In a small bowl, whisk together the maple syrup, melted butter, thyme, salt, and pepper. |
| 2 tablespoons unsalted butter, melted | Place the carrots on the prepared baking sheet and drizzle with the maple syrup mixture. |
| 1 teaspoon thyme | Bake for 20-25 minutes, until the carrots are tender and the glaze is caramelized. |
| 1/2 teaspoon salt | |
| 1/4 teaspoon black pepper |
Maple-Glazed Salmon
Another savory option is this recipe for maple-glazed salmon. The sweetness of the maple syrup pairs perfectly with the richness of the salmon for a mouth-watering main course.
- Preheat your oven broiler.
- Line a baking sheet with foil and lightly coat with cooking spray.
- In a small bowl, whisk together maple syrup, soy sauce, garlic, red pepper flakes, salt, and pepper.
- Place the salmon filets on the baking sheet and brush with the maple syrup mixture.
- Broil for 8-10 minutes, or until the salmon is cooked to your liking.
Maple Old Fashioned
Don’t limit your maple syrup use to just food! Try this recipe for a Maple Old Fashioned cocktail, perfect for sipping on a cozy night in.
- 2 ounces bourbon
- 1 tablespoon maple syrup
- 1 dash of bitters
- Orange peel for garnish
In a glass, mix together the bourbon, maple syrup, and bitters. Add ice and stir until well combined. Garnish with an orange peel and enjoy!
These are just a few ideas to get you started. Let your creativity run wild and experiment with using maple syrup in your favorite recipes. Your homemade syrup will add a unique and delicious touch to any dish.
Conclusion
Now that you have learned all about tapping maple trees, collecting maple sap, and producing your own sweet syrup, it’s time to put that knowledge into practice. With a few essential pieces of equipment and some patience, you can experience the joy of making your own maple syrup right in your own backyard.
Remember, timing is everything. Wait for the optimal weather conditions and tap the right type of maple trees to ensure a successful sap collection. And don’t forget to handle and store your maple sap properly before starting the syrup production process.
Once you’ve produced your own homemade maple syrup, you’ll want to showcase its delicious flavor. Use it in pancakes or waffles for a classic breakfast treat, or drizzle it over yogurt or ice cream for a sweet snack. You can even experiment with using maple syrup as a key ingredient in savory dishes like marinades or glazes.
And let’s not forget about drinks. A little bit of maple syrup can go a long way in adding sweetness to your morning coffee or tea. Try making a maple syrup cocktail for a unique twist on a classic favorite.
By following this beginner’s guide, you’ve unlocked the secret to producing your own maple syrup and taking part in an age-old tradition. With each batch of syrup, you can take pride in knowing that you’ve created something delicious and special.
So get out there and start tapping those maple trees. With a little bit of effort and a lot of patience, you’ll be rewarded with the sweet taste of homemade maple syrup.
FAQ
Why should I tap maple trees?
Tapping maple trees allows you to collect delicious maple sap, which is the key ingredient in producing maple syrup. It’s a rewarding and enjoyable process that brings the age-old tradition of maple syrup production right to your backyard.
How do I select the right maple trees for tapping?
Not all maple trees are suitable for tapping. In our guide, we provide step-by-step instructions on how to identify the right type of maple trees and the proper techniques to tap them effectively.
What equipment do I need for maple tree tapping?
To tap maple trees, you’ll need specific equipment such as tree spouts, collection buckets, and tubing systems. We’ll discuss the essential tools required, where to find them, and how to properly set up the equipment.
When is the best time to tap maple trees?
Timing is crucial in maple tree tapping. We’ll guide you through the optimal timeframes for tapping, taking into consideration weather conditions and seasonal changes. Understanding the best time to tap will maximize sap flow and ensure a successful syrup production process.
How do I collect maple sap?
Once you’ve tapped the maple trees, we’ll explain the different collection methods and techniques used to gather the sap efficiently. We’ll provide tips on how to handle and store the sap before moving on to the maple syrup production process.
What is the maple syrup production process?
Transforming maple sap into delicious maple syrup requires a specific production process. We’ll walk you through the steps involved, such as filtering and boiling the sap, monitoring the sugar content, and achieving the desired consistency. You’ll also learn tips to enhance the flavor of your homemade maple syrup.
How do I finish and bottle maple syrup?
Once the maple sap has been transformed into syrup, there are a few final steps to ensure the syrup is of the highest quality. We’ll explain the process of finishing the syrup, including filtering out impurities and bottling it for storage or consumption. You’ll learn how to properly store your homemade maple syrup for long-lasting enjoyment.
What are some recipes and creative uses for maple syrup?
Maple syrup is incredibly versatile and can be used in a variety of recipes and creative ways. We’ll provide some delicious recipes that showcase the unique flavor of maple syrup, as well as offer suggestions for alternative uses such as glazes, marinades, and even cocktails.