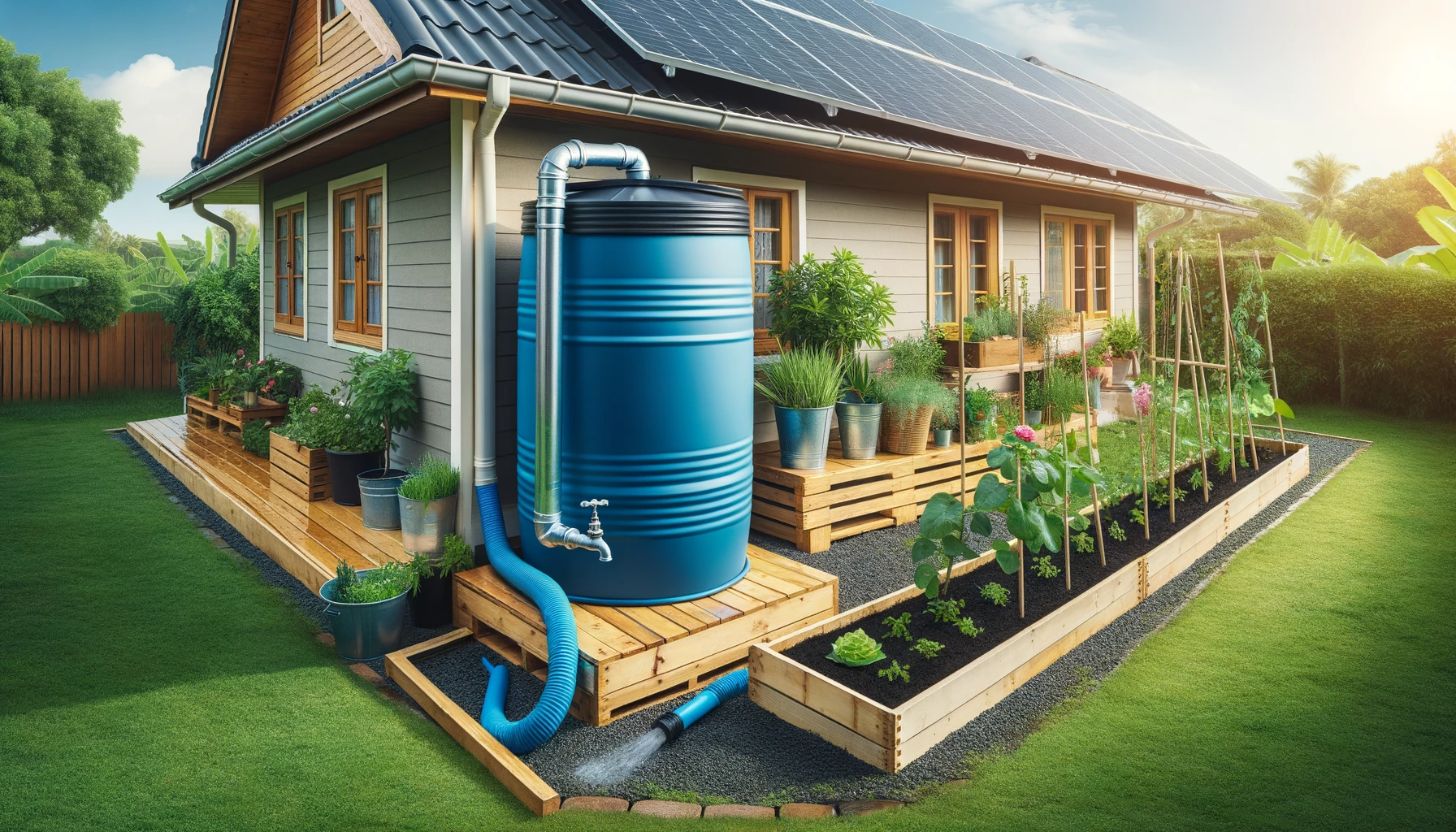
Access to clean and safe drinking water is a fundamental human right, but not everyone has access to it. If you’re looking for an inexpensive and effective way to ensure that the water you drink is safe, making a homemade water filter is a great option. With a little bit of know-how and a few basic materials, you can easily create your own water filtration system.
In this section, we’ll explore different methods of making a water filter at home. Whether you’re looking to filter water for drinking or recreational use, we’ll guide you through the process of creating a DIY water filter that’s right for your needs.
Key Takeaways
- Making a homemade water filter is an inexpensive way to ensure access to clean and safe drinking water.
- There are various methods and materials you can use to create a DIY water filtration system.
- Choosing the right filtration method is an essential step in creating an effective water filter.
- Regular maintenance and replacement of filter media are crucial for optimal performance.
- Additional tips and tricks can enhance the efficiency of your homemade water filter.
Understanding Water Filtration
Before you start making your DIY water filter, it’s essential to understand the different water purification methods available. The quality of the water you’re starting with will determine which method you choose, so it’s crucial to know the source. Below is an overview of the most common water purification methods:
| Water Purification Method | Description |
|---|---|
| Boiling | A simple method of water purification that involves bringing water to a rolling boil for at least one minute to kill any pathogens. |
| Chlorination | Adding chlorine to water is a common disinfection method that kills bacteria, viruses, and other harmful microorganisms. |
| Distillation | This method involves boiling water and collecting the steam in a separate container, leaving behind any impurities. |
| Filtration | Passing water through a physical filter to remove impurities such as sediment, dirt, and debris. |
| Reverse Osmosis | This process involves pushing water through a semi-permeable membrane that filters out everything except water molecules. |
Once you have decided on the water purification method, it’s time to determine the types of filter materials and design to use in your DIY water filter. The most common types of filter materials include sand, activated carbon, ceramic, and gravel. The design of the filter is equally important and can range from a simple gravity-fed system to a complex multi-stage system.
When choosing the filter materials and design, consider the source of your water, the level of contaminants present, and your budget. The goal is to create a water filtration system that effectively removes impurities while being affordable and easy to maintain.
Choosing the Right Filtration Method
Before you start building your homemade water purification system, it is essential to choose the right filtration method suitable for your water. Water filtration systems come in different types, and each has its unique ability to remove impurities from water. Understanding the different types of water filtration systems will help you choose the right one for your needs.
One option to consider is a gravity-fed drip system, which is ideal for filtering large volumes of water. Another option is the reverse osmosis system, which removes most contaminants, including dissolved solids and minerals. If your water source has a high bacterial count, the ultraviolet system might be your best option.
When choosing the right filtration method, consider the contaminants present in your water, the water source, and the filtration needs. A home water test kit can help you identify the impurities present in your water and choose the appropriate filtration method.
Creating a homemade water purification system saves you money and provides a sustainable solution for obtaining clean and safe drinking water. Determining the right filtration system ensures that your homemade water purification is as effective as those commercially produced.

Keep in mind that a homemade water purification system may not be as effective as commercially available ones, but it is an affordable alternative. When installed and maintained correctly, a homemade water filtration system can provide safe drinking water for you and your family.
Gathering the Necessary Materials
To make your DIY water filter, you will need a few essential materials. Here is a comprehensive list of items you will require:
| Material | Description |
|---|---|
| Food-grade plastic container | A container that is strong, durable, and won’t leach harmful chemicals into the water. |
| Drill with ½ inch and 1/8 inch bits | To drill holes in the container for the inlet, outlet, and spigot. |
| Activated carbon | To remove chlorine, sediments, and organic materials from the water. |
| Sand | To filter out larger particles from the water. |
| Gravel | To provide support for the sand and prevent it from clogging. |
| Cloth or coffee filter | To remove any remaining particles from the water. |
| Silicone caulk | To seal any gaps or leaks in the container. |
| Spigot | To dispense the filtered water. |
These materials can be found at your local hardware store or online.
Once you have gathered all the necessary materials, you are ready to move on to preparing your workspace.

Preparing Your Workspace
Before starting with the construction of your DIY water filter, it’s important to prepare your workspace properly. Here are some tips to ensure your workspace is clean and organized:
- Clean your workspace thoroughly to remove any potential sources of contamination.
- Make sure you have all the necessary equipment and materials before you start.
- Cover your workspace with a plastic sheet or newspaper to prevent any spills or leaks.
- Wear gloves and a mask to protect yourself from harmful materials.
Once you have prepared your workspace, you can start gathering the materials needed to build your DIY water filter.
Building the Filter Container
Now that you have a thorough understanding of various water filtration designs and materials, it’s time to build your filter container.
The first step is to choose the appropriate container for your filter. A common choice for DIY water filters is a 5-gallon plastic bucket with a lid. You can find these at most hardware stores or online.
Once you have your container, it’s important to ensure that it is clean and free of any residue or debris. Wash it thoroughly with warm water and soap, and rinse it several times to remove any soap residue.
Next, you’ll need to drill holes in the bottom of the container to allow the water to pass through. Use a drill or hole saw to create several holes, approximately 1/8 inch in diameter. Make sure the holes are evenly spaced and cover the entire bottom surface of the container.
It’s important to ensure that your filter container is leak-proof. To do so, cover the inside of the container with a food-grade silicone sealant or a rubber gasket. Apply the sealant around the holes and the rim of the container, and let it dry for at least 24 hours.

Now that your container is prepped and ready, you can move on to assembling the filtration system.
Assembling the Filtration System
Now that you have built your filter container, it’s time to assemble the filtration system. Follow these steps:
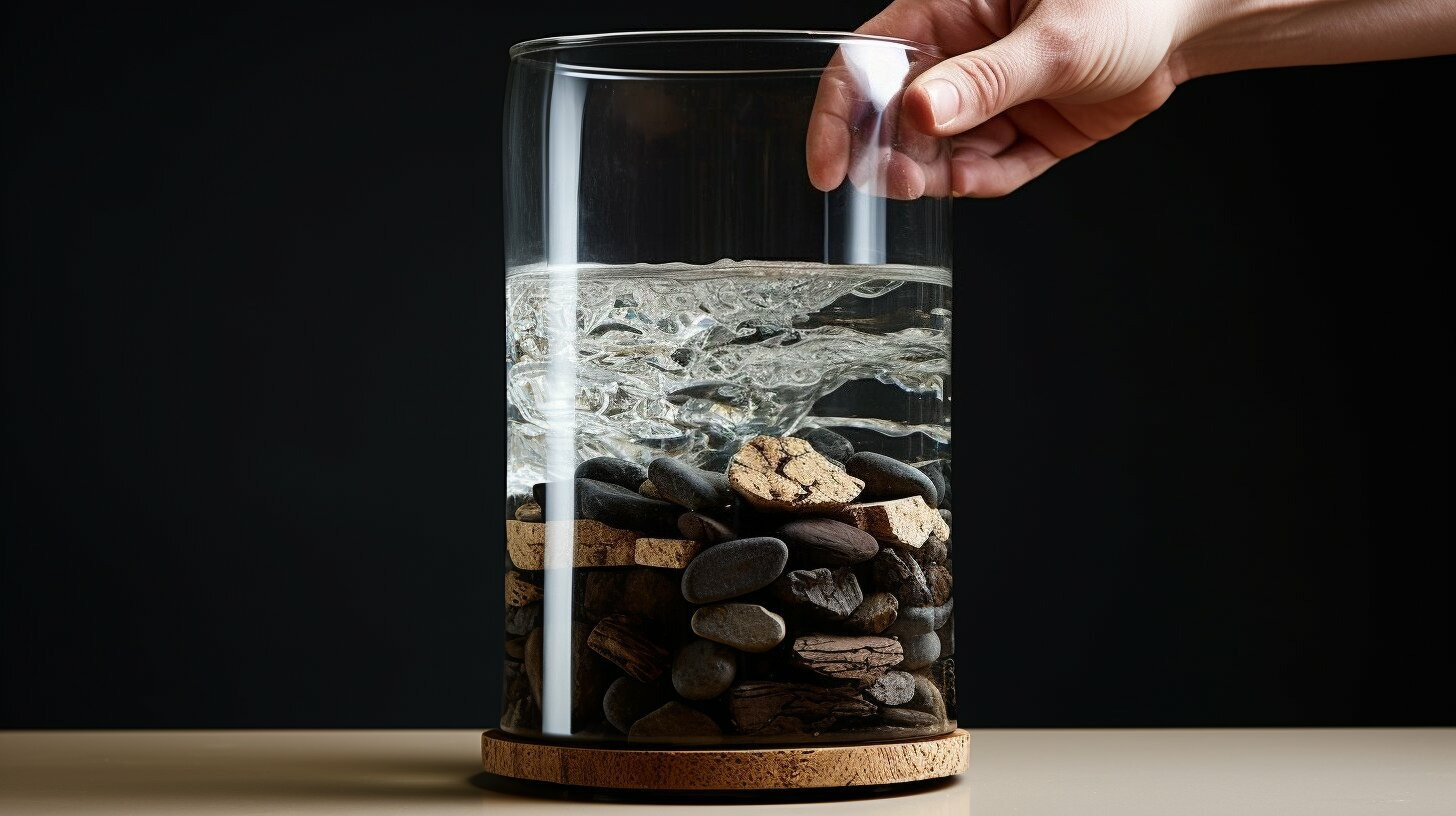
- Place a layer of fine gravel or small rocks at the bottom of the container. This will help distribute the flow of water evenly through the filter media.
- Add a layer of coarse sand over the gravel. The sand layer should be at least 1 inch thick.
- Place a layer of activated carbon on top of the sand. Ensure that the carbon layer is at least 1 inch in thickness.
- Add a layer of fine sand on top of the activated carbon. The sand layer should be at least 1 inch thick.
- Finally, add a layer of fine gravel or small rocks on top of the sand layer. This will prevent the sand and carbon from escaping from the filter container.
Ensure that each layer is spread evenly and without any air pockets. The layers should be compact and firm to prevent water from bypassing the filter media.
After assembling the filtration system, run a few gallons of clean water through the filter to flush out any impurities and test it for leaks. If there are any leaks or malfunctions, disassemble the filter and address the issue.
Now that your filtration system is complete, you can attach a spigot to the container and enjoy clean and safe drinking water.
Adding the Filter Media
Adding the filter media to your DIY water filter is a crucial step in removing impurities and ensuring safe, clean drinking water. There are various types of filter media to choose from, including activated carbon, sand, gravel, and ceramic.
The type of filter media you use will depend on your specific filtration needs and the type of contaminants present in your water source. Activated carbon is effective in removing chlorine, pesticides, and other organic compounds, while sand and gravel can remove larger particles like sediment and dirt. Ceramic filters are effective in removing bacteria and viruses.
When adding the filter media to your filter container, it’s important to layer them in the proper order to ensure maximum effectiveness. The coarsest material, typically gravel or small rocks, should be placed at the bottom, followed by a layer of sand, and then the activated carbon or other fine filter media.
It’s essential to follow the recommended guidelines for the amount of filter media to use based on the size of your filter container. Using too little filter media can result in inefficient filtration, while using too much can cause clogging and reduced flow rate through the filter.
Once the filter media is added, carefully pour water through the filter to flush out any loose particles and prepare the filter for use. It’s important to note that some filter media, like ceramic, may require priming before use to remove any trapped air.

Remember to always use the appropriate safety gear when handling filter media and follow the manufacturer’s instructions for disposal.
Testing and Troubleshooting
Now that your DIY water filter is assembled, it’s important to test its effectiveness and troubleshoot any issues that may arise.
Testing the water filtration system: Before using the filtered water, it’s essential to test the system to ensure it’s working correctly. Fill the filter container with water and observe the flow rate. The water should flow slowly but evenly through the filter media. Test the filtered water for impurities by using a water testing kit. If the water doesn’t pass the test, double-check the assembly process and ensure all components are correctly installed.
Troubleshooting: If issues arise, identify the problem and make the necessary adjustments. If the flow rate is too slow, check for clogs in the filter media and replace if necessary. If the water has an unusual taste or odor, check the filter media and replace if needed. If the filtration system leaks, verify the container is constructed correctly and all components are adequately sealed.

Regular testing and troubleshooting will help maintain the effectiveness of your water filtration system.
Maintenance and Replacement
As a proud owner of a homemade water filter, it’s important to understand that regular maintenance and replacement are crucial for its continued effectiveness. Here are some tips to keep your DIY water filter in tip-top shape:
- Clean your filter container and filtration materials every few months to prevent clogging and build-up of impurities.
- Replace your filter media regularly, depending on the manufacturer’s instructions or based on the water quality and usage.
- Check for any leaks or cracks in the filter container or hose fittings, and repair or replace them as necessary.
- Store your filtration system in a dry and cool place to prevent the growth of bacteria or mold.
Remember, proper maintenance and replacement are key to ensuring the longevity and effectiveness of your homemade water filter.
By following these simple tips, you can continue to enjoy clean and safe drinking water from your homemade water filter for years to come.
Additional Tips for Water Filtration
Now that you have learned how to make a DIY water filter, here are some additional tips to enhance its effectiveness:
- Use high-quality water filter materials for optimal performance. Cheaper materials may save money upfront, but they may not be as effective and may need to be replaced more frequently.
- It’s essential to properly clean and disinfect all materials before and after use to prevent bacteria and other contaminants from entering the water.
- Consider using activated carbon as a filter media to remove unwanted odors and flavors from the water.
- Periodically test the water from your filter to ensure it is still removing impurities effectively.
- Remember to replace the filter media when necessary to ensure the longevity and effectiveness of your homemade water filter.
By following these tips, you can further improve the quality and safety of your DIY water filter. Remember to always prioritize clean and safe drinking water for yourself and your family.

Conclusion
Learning how to make a water filter at home is a valuable skill that can provide you and your family clean and safe drinking water. With our easy DIY guide, you can confidently create a water filtration system that fits your specific needs.
Remember to carefully consider the different water purification methods and materials available before choosing the right filtration method for your water source. Gather the necessary materials from local home improvement stores or online retailers and prepare a clean and organized workspace for assembling your filter.
Building the filter container and assembling the filtration system can be achieved with the help of our detailed instructions. Adding the filter media is a crucial step in removing impurities from the water, and we have provided guidance on the different types of filter media available.
Testing and troubleshooting your water filter is important to ensure its effectiveness, and regular maintenance and replacement of the filter media is essential for optimal performance.
In conclusion, by following our easy DIY guide on how to make a water filter, you can take control of your water filtration needs and ensure the health and well-being of yourself and your family. So go ahead and start building your homemade water filter today!
FAQ
Q: What materials do I need to make a water filter?
A: To make a water filter, you will need materials such as activated carbon, sand, gravel, a container, a spigot, and a mesh or cloth to prevent particles from entering the filtered water.
Q: How long does it take to make a DIY water filter?
A: The time it takes to make a DIY water filter can vary depending on the complexity of the design and your experience. On average, it may take a few hours to assemble the filter and gather the necessary materials.
Q: Can I use any type of water for filtration?
A: It is recommended to use clean, non-contaminated water for filtration. Using water from a questionable source may require additional pre-filtration steps or specialized filtration methods.
Q: How often should I replace the filter media?
A: The frequency of filter media replacement depends on various factors such as the quality of the water being filtered and the type of filter media used. It is generally recommended to replace the media every 3 to 6 months or as specified by the manufacturer.
Q: Can I use a homemade water filter for all types of contaminants?
A: Homemade water filters are effective at removing many common contaminants such as sediments, chlorine, and odors. However, they may not be suitable for filtering certain types of contaminants like heavy metals or bacteria. It’s important to understand the limitations of your DIY water filter and consider additional purification methods if necessary.