If you’re looking for a nutritious and versatile plant to add to your garden, amaranth is an excellent choice. This ancient grain is easy to grow and can be used in a variety of ways, from salads to flour. In this comprehensive guide, we’ll walk you through the steps to successfully grow amaranth in your garden.
Whether you’re a new or experienced gardener, these tips and techniques will help you cultivate a bountiful harvest of this superfood.
Key Takeaways
- Follow these simple steps to grow amaranth in your garden.
- Choose the right amaranth variety for your garden.
- Prepare the soil properly for optimal growth.
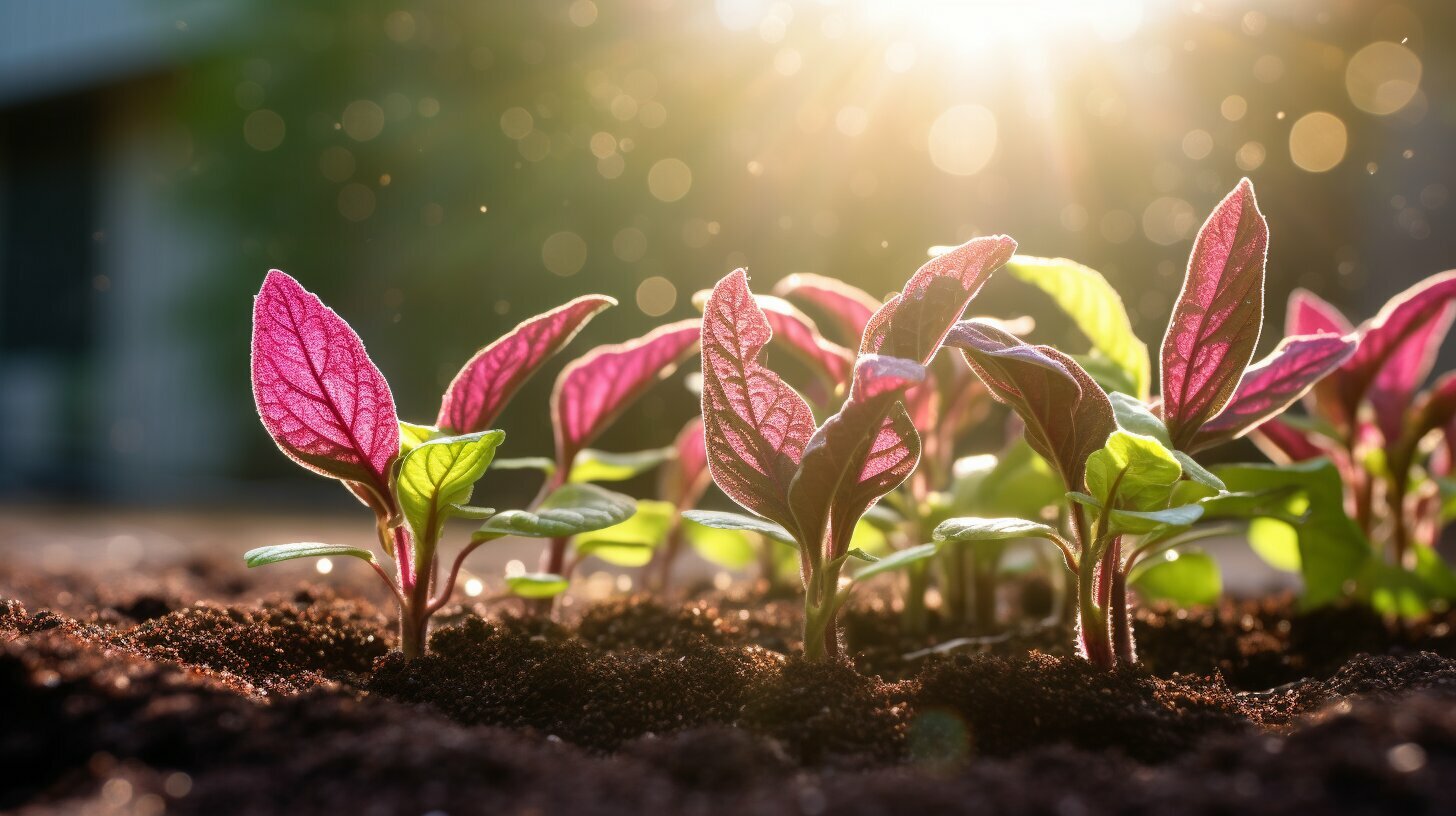
- Sow the amaranth seeds with proper spacing and depth.
- Water and mulch the amaranth plants to retain moisture and prevent weeds.
Choosing the Right Amaranth Variety
When it comes to growing amaranth, selecting the right variety is crucial for a successful harvest. There are countless varieties of amaranth, ranging in color, size, and taste. Some are better suited for ornamental purposes, while others are grown for their delicious and nutritious leaves and seeds.
Before choosing a variety, consider the climate and growing conditions in your area. Some amaranth varieties are better suited for hot and dry climates, while others thrive in cooler temperatures. Additionally, consider the space available in your garden and the desired purpose of the plant.
Disclosure: When you buy through links on our site, we may earn an affiliate commission.
Common varieties of amaranth include:
| Variety | Description |
|---|---|
| Red Amaranth | A popular variety with bright red leaves that are often used in salads and stir-fries. It can also be grown for its nutritious seeds. |
| Green Amaranth | A mild-tasting variety with green leaves that can be used in salads or cooked like spinach. It is also grown for its edible seeds. |
| Love Lies Bleeding | An ornamental variety with long, drooping red flowers that resemble tassels. |
| Golden Giant | A variety with yellow-orange leaves that can grow up to six feet tall. It is often grown for its seeds, which are high in protein. |
Planting Instructions
Once you have chosen the right variety of amaranth for your garden, it’s time to plant it. Amaranth can be started from either seeds or transplants, depending on your preference.
If starting from seeds, sow them directly into the soil after the threat of frost has passed. Plant seeds about 1/4 inch deep and 18 to 24 inches apart. Water thoroughly after planting and keep the soil moist until the seeds have germinated.
If using transplants, plant them in soil that has been amended with compost or other organic matter. Space plants 18 to 24 inches apart and water thoroughly after planting.
It’s important to note that amaranth grows quickly and can become tall and bushy. To prevent overcrowding, thin plants to 12 to 18 inches apart after they have reached a height of 6 inches.
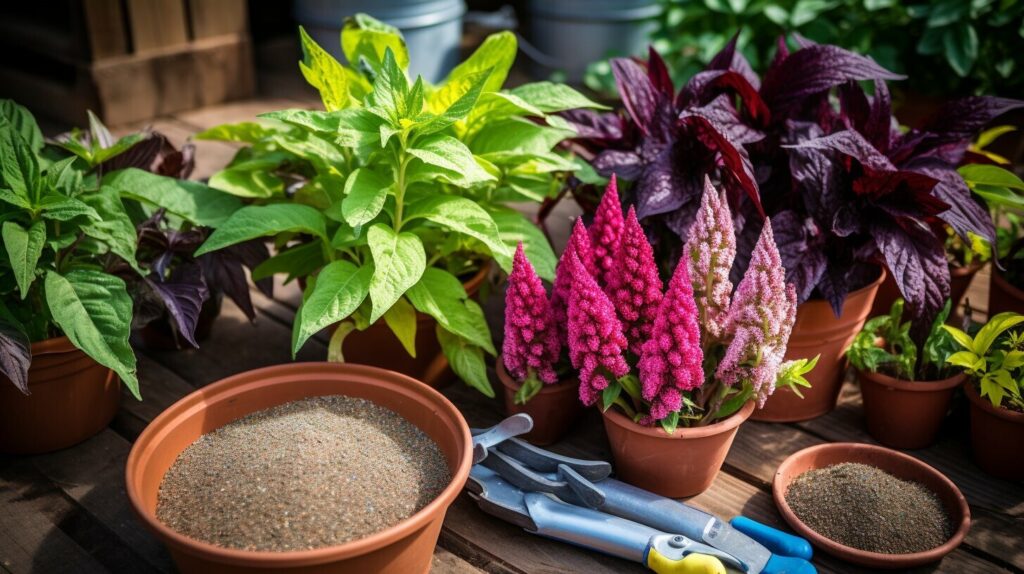
Following these best practices for growing amaranth will help ensure a successful harvest of this versatile and nutritious plant.
Preparing the Soil for Amaranth
Before planting amaranth, it’s essential to prepare the soil properly. Taking the time to amend the soil and create the ideal growing conditions for your amaranth plants will ensure a bountiful harvest. Here are some amaranth care techniques and secrets to successful amaranth cultivation when it comes to soil preparation:
Test Your Soil
The first step in preparing your soil is to test it. You can use a soil testing kit or send a sample to a local soil testing lab. Understanding your soil’s pH level, nutrient content, and texture will guide your soil amendment strategy.
Amend Your Soil
Most soils benefit from amendments to improve soil fertility, drainage, and structure. Compost, aged manure, and peat moss are excellent organic soil amendments. Vermiculite and perlite are great for improving drainage, especially in heavy soils. Adding bone meal or rock phosphate will provide your plants with essential phosphorus while wood ashes will increase potassium content.
Create the Ideal Soil Texture
While amaranth can tolerate a variety of soils, it grows best in fertile, well-draining soil with a loamy texture. By amending your soil with organic matter and sand, you can create an ideal soil texture that retains moisture and nutrients while allowing excess water to drain.
Avoid Soil Compaction
Avoid soil compaction by not walking on the soil when it’s wet. Compacted soil reduces aeration, water infiltration, and nutrient uptake. Providing adequate space between your plants will also help prevent soil compaction.
By following these soil preparation tips, you can create the ideal growing conditions for your amaranth plants and ensure a successful harvest.
Sowing Amaranth Seeds
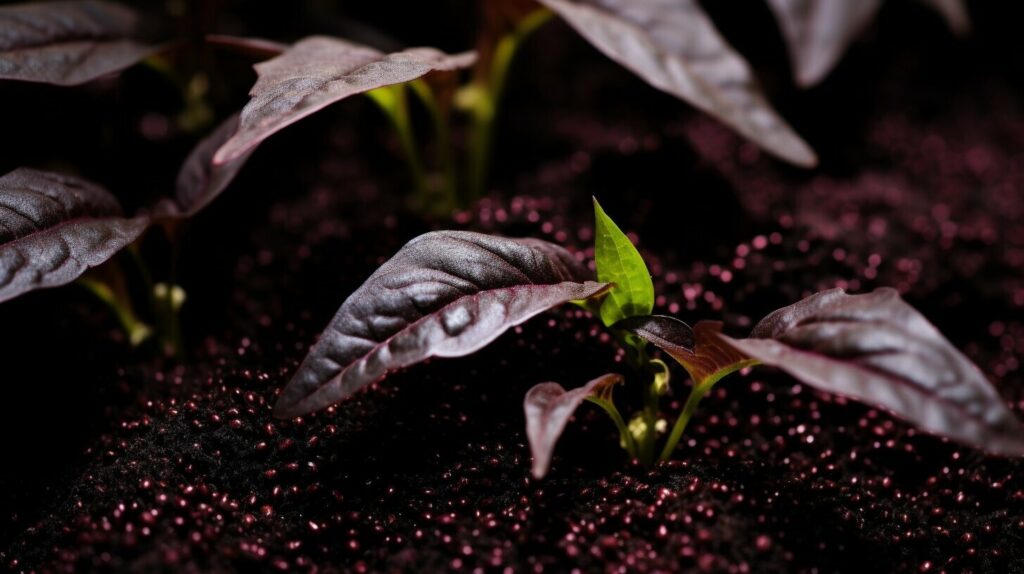
After preparing the soil, it’s time to sow the amaranth seeds. Select a sunny spot in your garden and mark rows that are 18-24 inches apart. Make shallow furrows about 1/4 inch deep using a hoe or your fingers.
Next, place the seeds in the furrows, spacing them 1-2 inches apart. Cover the seeds with soil and gently press down to ensure good contact between the seeds and soil.
Water the newly planted seeds lightly, taking care not to wash them away. Keep the soil moist but not waterlogged until the seeds germinate in 7-10 days.
As the amaranth plants grow, thin them out to 6-12 inches apart. This will allow each plant to have enough space to grow and mature properly.
Remember that amaranth grows best in warm temperatures between 65-90°F, with optimal germination occurring at 70-75°F. Make sure to provide adequate sunlight, water, and nutrients for healthy growth.
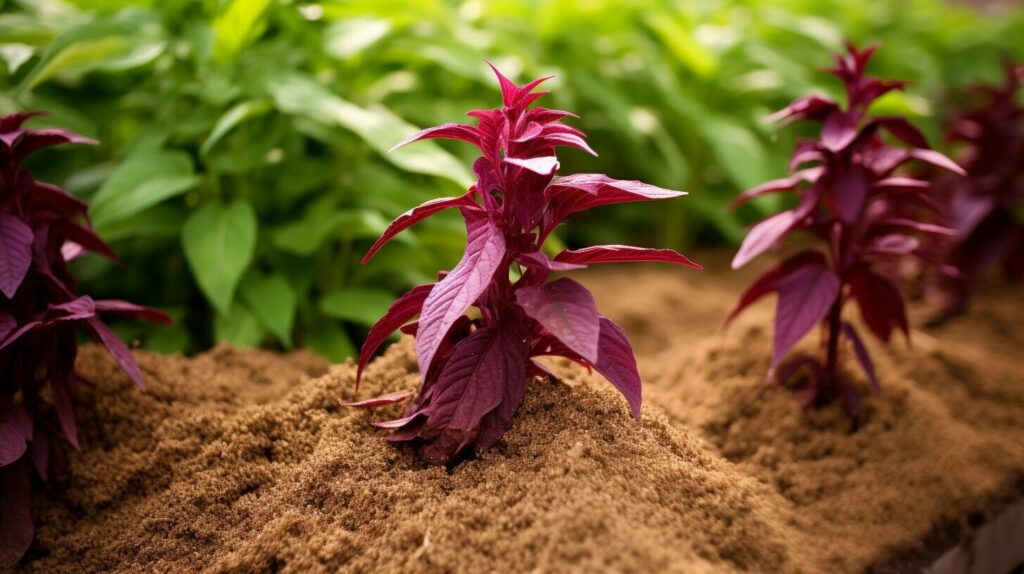
Watering and Mulching Amaranth
Proper watering and mulching are crucial for the care and growth of your amaranth plants. Here are some tips to ensure your amaranth thrives in your garden.
Watering Amaranth
Amaranth requires consistent moisture to grow properly. Water your plants regularly, aiming for about an inch of water per week. Pay attention to the weather and increase watering if there is a drought or heatwave.
Be careful not to overwater, as too much water can lead to root rot and other issues. Water the base of the plant rather than the leaves to avoid diseases and promote healthy growth.
Mulching Amaranth
Mulching around your amaranth plants can help retain moisture in the soil and prevent weeds from growing. Apply a layer of organic mulch, such as straw or shredded leaves, around the base of the plants.
Be sure to keep the mulch a few inches away from the stems of the plants to prevent rotting. Mulch once the soil has warmed up and the plants are a few inches tall.
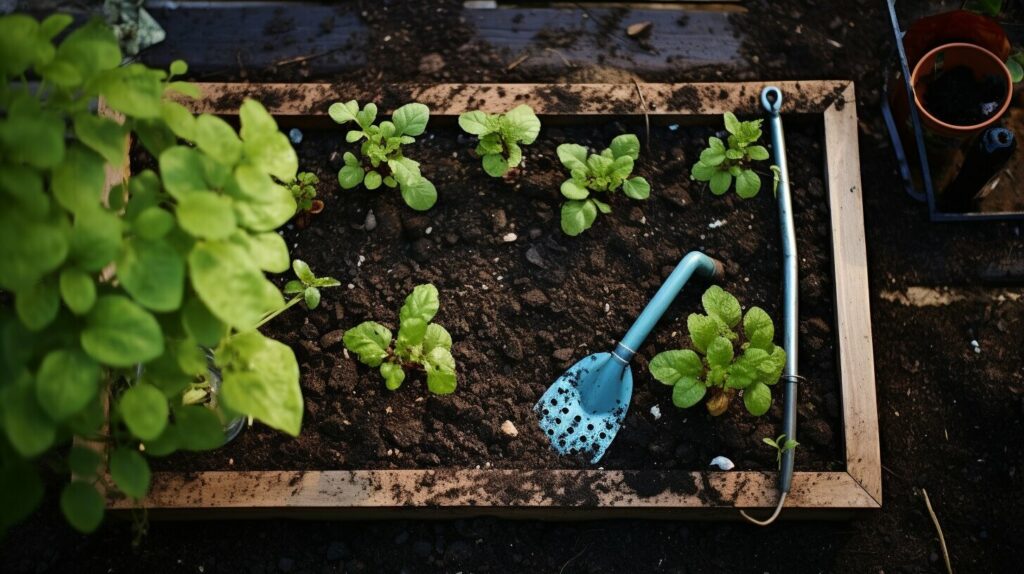
By following these simple watering and mulching tips, you can ensure healthy and vibrant amaranth plants in your garden.
Fertilizing Amaranth
Proper fertilization is vital for the healthy growth of amaranth. The right nutrients will ensure strong root development, robust foliage, and abundant harvest. Here’s a quick amaranth cultivation guide to help you fertilize your plants:
- Choose the right fertilizer: Amaranth prefers a balanced fertilizer, rich in nitrogen, phosphorus, and potassium. You can source organic or synthetic fertilizers from your local gardening store.
- Apply at the right time: Fertilize your amaranth plants 2-3 weeks after sowing the seeds. Avoid applying fertilizer during extreme weather conditions (too hot or too cold) as this may damage the plants.
- Follow the right application rate: Over-fertilizing your amaranth may result in stunted growth, leaf burn, or flower drop. Follow the instructions on the fertilizer label and apply the recommended amount for your garden size.
- Apply fertilizer properly: Once you have measured the correct amount of fertilizer, apply it evenly around the base of the amaranth plants. Work the fertilizer into the soil, taking care not to damage the roots.
- Water your plants: After applying fertilizer, water your amaranth plants thoroughly to help the nutrients penetrate the soil and reach the roots.
Remember, the key to successful amaranth cultivation is not just about fertilizing your plants, but also ensuring you’re following best practices for growing amaranth. With proper care, your amaranth plants will grow tall and produce an abundance of nutritious foliage and seeds.
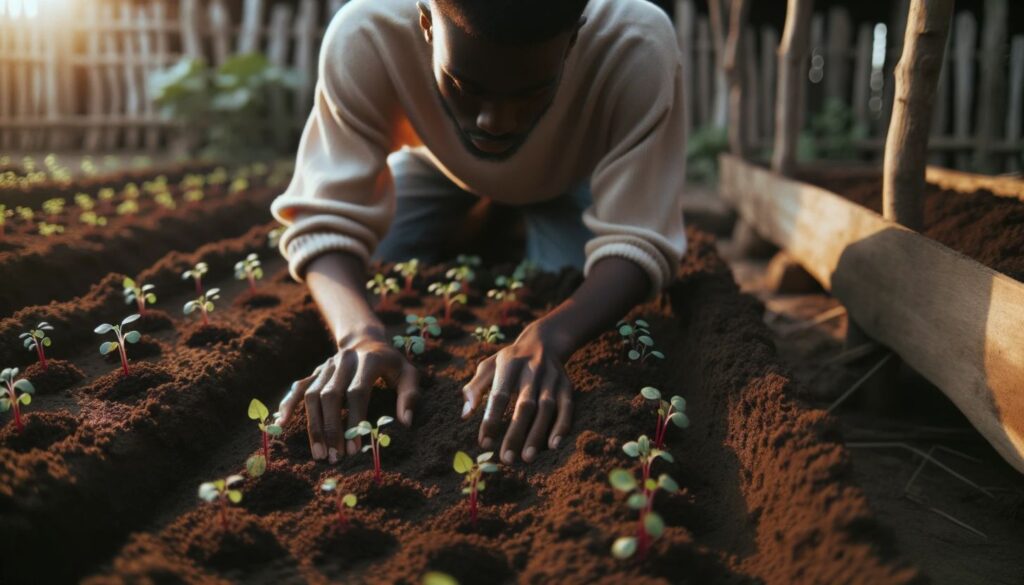
Managing Pests and Diseases in Amaranth
Expert advice on growing amaranth suggests that pests and diseases can be a challenge for this plant. However, with proper care techniques, you can manage these issues and ensure healthy growth.
One of the most common pests to affect amaranth is the amaranth weevil, which feeds on the plant’s leaves and stems. To prevent infestations, keep your garden area clean, and remove any plant debris. You can also use insecticidal soap or neem oil to control the pests.
Another potential problem is fungal diseases, such as powdery mildew and leaf spot. To prevent these diseases, avoid overwatering your amaranth plants and ensure adequate air circulation. If you notice signs of fungal growth, remove the infected leaves, and apply a fungicide if necessary.
It’s also important to keep an eye out for aphids and spider mites, which can cause yellowing and wilting of the leaves. Insecticidal soap or neem oil can also help to control these pests.
By taking proactive measures to prevent and manage pests and diseases, you can ensure a successful amaranth harvest.
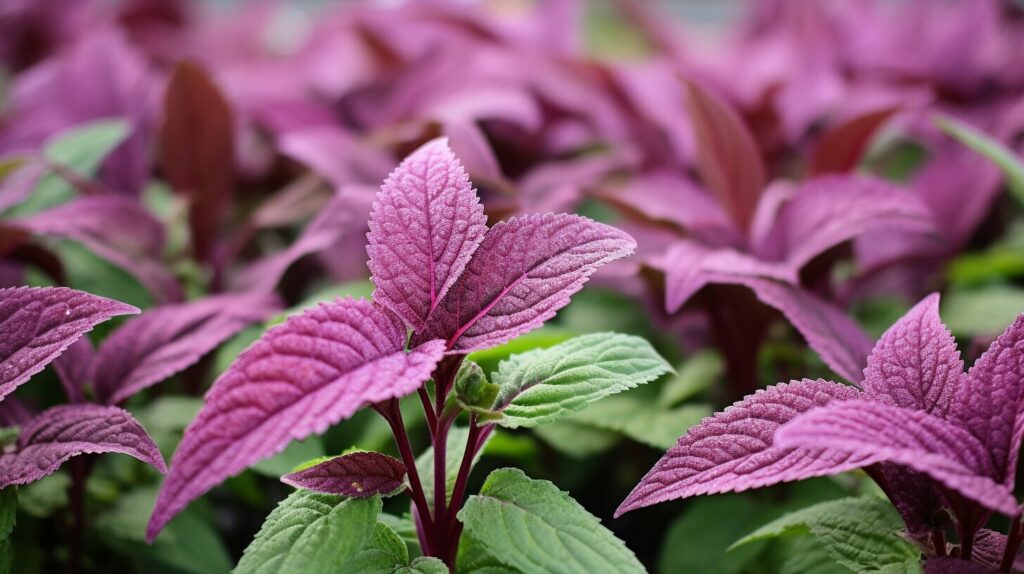
Harvesting Amaranth
Harvesting amaranth is an essential step towards reaping the benefits of your hard work in the garden. The time for harvesting depends on the variety of amaranth being grown and the purpose for which it is being harvested.
For harvesting amaranth leaves, the best time is when the plant is just a few inches tall and the leaves are still young and tender. It’s best to harvest the leaves in the morning before the sun gets too hot to preserve their freshness and nutritional value.
When harvesting amaranth seeds, wait until the plant is fully mature and the flowers have turned brown, indicating that the seeds are ripe. To harvest, cut off the flower heads and place them in a paper bag. Hang the bag in a dry, well-ventilated area for a few days until the seeds are completely dry. Remove the seeds from the flower heads and store them in a dry, airtight container.
It’s important to note that amaranth plants can continue to produce leaves and seeds as long as they are well-maintained and not allowed to go to seed. This makes amaranth a great addition to any garden, providing a steady supply of nutritious and tasty greens and grains.
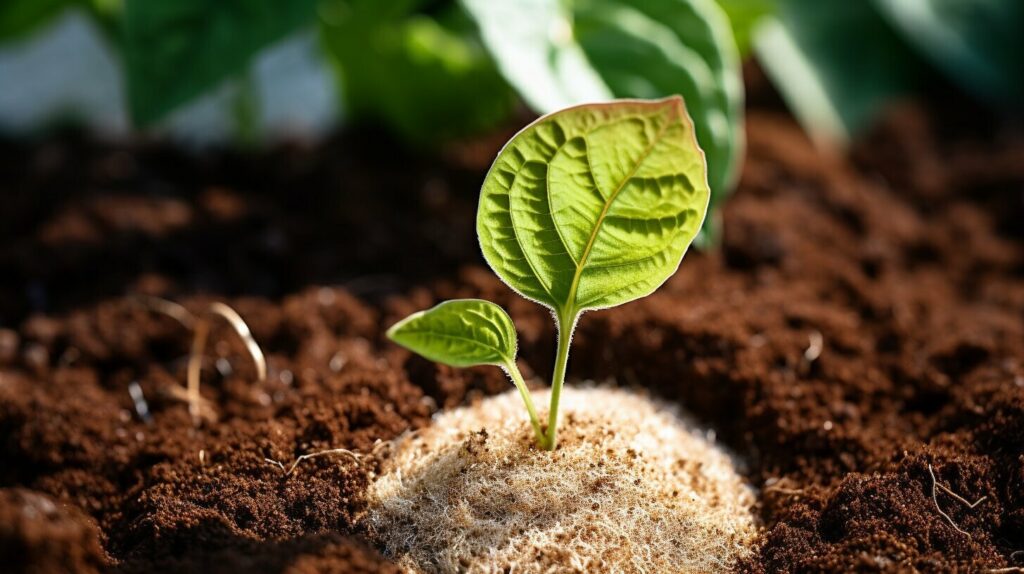
Harvesting amaranth is the final step in the process of successful amaranth cultivation. Whether you are harvesting leaves for a fresh and tasty addition to your salads or collecting seeds for long-term storage, following the proper techniques will ensure a bountiful and rewarding harvest.
Storing and Using Amaranth
After harvesting your amaranth plants, it’s important to store them properly to maintain their quality. Here are some best practices for storing amaranth:
- Store amaranth seeds in an airtight container in a cool, dry place. Avoid exposure to moisture or direct sunlight, which can cause spoilage.
- If you plan to use amaranth leaves, store them in the refrigerator in a plastic bag or container lined with a damp cloth. This will help retain their freshness and prevent wilting.
- If you have excess amaranth, consider freezing it for later use. Simply blanch the leaves for a few seconds, rinse with cold water, and freeze in an airtight container or plastic bag.
Now that you have successfully grown and harvested amaranth, it’s time to explore its culinary uses. Here are some delicious ways to incorporate amaranth into your meals:
- Add amaranth leaves to salads or use them as a bed for grilled meats or vegetables.
- Cook amaranth seeds as you would quinoa or rice, and use as a base for grain bowls, stuffings, or pilafs.
- Grind amaranth seeds into flour and use in baked goods like bread, muffins, or pancakes.
Enjoy the versatility and nutritional benefits of your homegrown amaranth!

Common Amaranth Growing Problems and Solutions
Despite its many benefits, growing amaranth can come with its fair share of challenges. As you tend to your plants, keep an eye out for these common issues and follow these expert tips to address them:
Poor Germination
If your amaranth seeds are not germinating properly, it may be due to poor seed quality or unfavorable growing conditions. Ensure that the soil temperature is warm enough (around 70°F) and provide adequate moisture by watering regularly. If issues persist, try pre-soaking the seeds overnight or use a seed starter soil mix to improve germination rates.
Weed Competition
Amaranth plants are susceptible to weed competition, which can restrict their access to essential nutrients and water. To combat this issue, mulch the soil around your plants and hand-pull any weeds that may emerge. Additionally, avoid over-crowding your plants to reduce weed growth.
Fungal Diseases
Amaranth plants can fall victim to several fungal diseases, including leaf spot and powdery mildew. To prevent these diseases, ensure proper air circulation around your plants and avoid overhead watering, which can promote fungal growth. If symptoms appear, treat with a fungicide or remove infected plants to prevent spread.
Pest Infestations
Common pests that may affect amaranth plants include aphids, flea beetles, and spider mites. To prevent infestations, monitor your plants regularly and take action at the first sign of pests. Options include introducing natural predators, such as ladybugs, or using an organic pesticide.
Bolting
When amaranth plants mature too quickly and start producing flowers, it is known as bolting. To prevent this issue, space your plants properly and avoid over-fertilizing with nitrogen-rich fertilizers. Additionally, ensure adequate moisture and avoid planting in excessively hot temperatures.
Benefits of Growing Amaranth
Aside from being a delicious and nutritious addition to your diet, amaranth has many benefits for your garden and overall well-being. Here are some amaranth growing tips to help you make the most of this versatile plant:
Increase Biodiversity in Your Garden
By growing amaranth, you are introducing a new species to your garden, which can help increase biodiversity. Biodiversity is essential for a healthy ecosystem, as it promotes soil health and supports a wide range of wildlife, including beneficial insects like bees and butterflies.
Easy to Grow
Amaranth is relatively easy to grow, making it a great choice for beginning gardeners or those with limited space. It requires minimal maintenance and can be grown in pots or in the ground.
Nutritious and Versatile
Amaranth is a nutritional powerhouse, packed with protein, fiber, and essential vitamins and minerals. It can be used in a variety of dishes, from salads and soups to baked goods and breakfast cereals.
Colorful and Ornamental
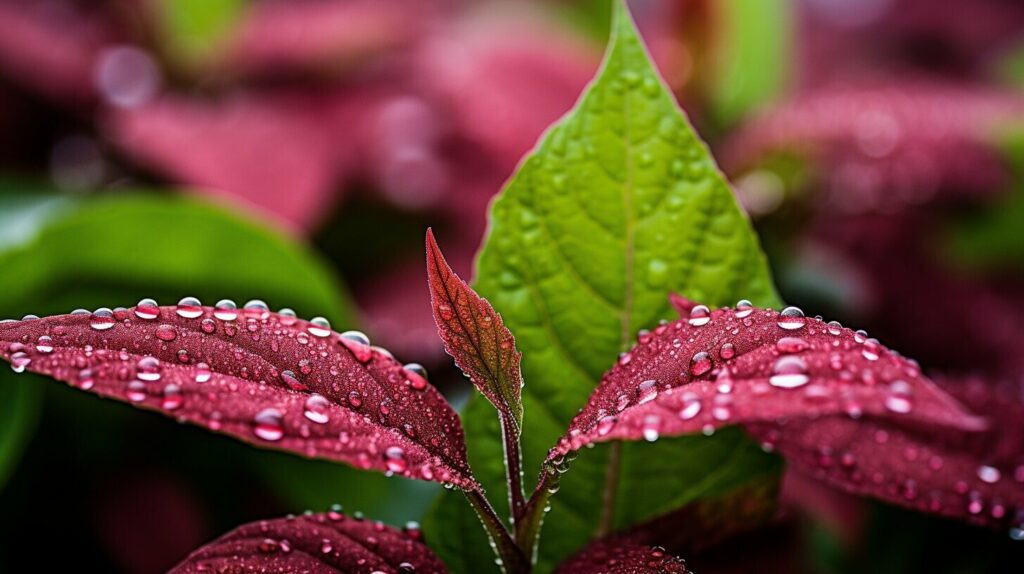
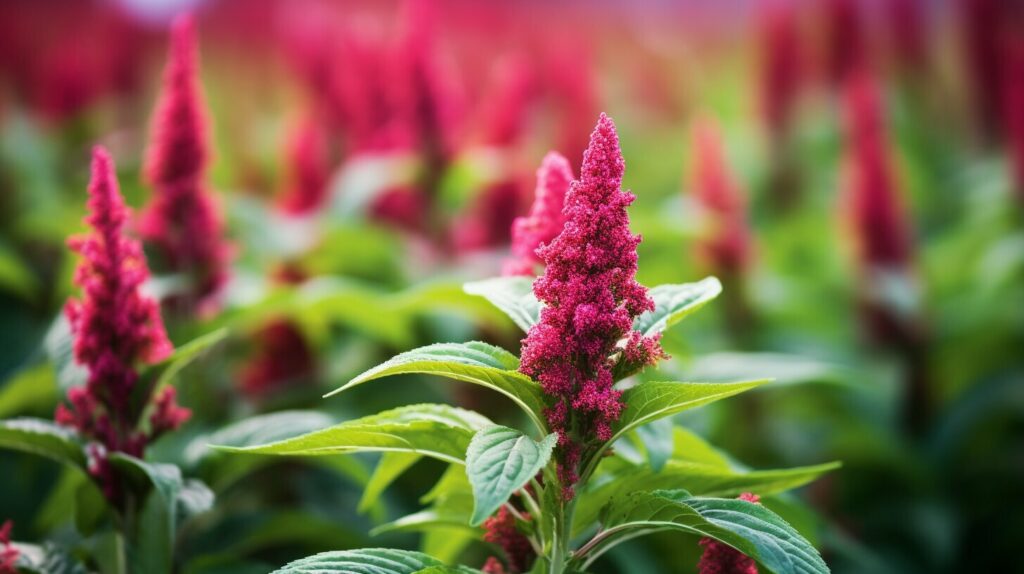
In addition to its nutritional and culinary benefits, amaranth is also a beautiful and ornamental plant. Its vibrant leaves and flowers can add a pop of color and texture to your garden, making it a great choice for both edible and decorative gardens.
With these secrets to successful amaranth cultivation, you can enjoy the many benefits of growing this versatile plant in your own garden.
Conclusion
Growing amaranth is a fantastic way to enhance your gardening experience and reap its many benefits. By following the simple steps outlined in this guide, you can successfully cultivate this versatile and nutritious plant in your garden.
Remember to carefully select the right amaranth variety, prepare the soil properly, sow the seeds at the optimal depth, and provide adequate water, mulch, and fertilizer. Be sure to monitor for pests and diseases, and harvest the plant at the right time for the best results.
Good Luck with Your Amaranth Garden!
We hope that this comprehensive guide has equipped you with the knowledge and skills necessary to grow amaranth successfully. By applying our tips and techniques, you can enjoy a bountiful harvest of this nutritious and delicious plant.
Thank you for taking the time to read this guide, and we wish you luck with your amaranth gardening endeavors.
FAQ
How do I choose the right variety of amaranth for my garden?
When selecting an amaranth variety, consider factors such as climate, growth habit, and intended use. Some popular varieties include Red Leaf Amaranth, Love Lies Bleeding, and Green Callaloo. Check with your local nursery or seed supplier for recommendations based on your specific location and needs.
How should I prepare the soil for planting amaranth?
Start by removing any weeds or debris from the planting area. Then, dig the soil to a depth of 8-10 inches and incorporate organic matter such as compost or well-rotted manure. This will help improve soil fertility and drainage, creating a favorable environment for amaranth growth.
What is the best way to sow amaranth seeds?
Begin by selecting high-quality seeds from a reputable source. Sow the seeds directly into the prepared soil, spacing them about 12-18 inches apart. Plant the seeds at a depth of 1/4 to 1/2 inch and cover them lightly with soil. Water gently after planting to ensure good seed-to-soil contact.
How often should I water my amaranth plants?
Amaranth plants thrive in moist soil, so it’s important to water them regularly. Aim for deep, thorough watering once or twice a week, depending on weather conditions. Monitor the moisture level of the soil and adjust watering frequency as needed to prevent under or overwatering.
Do amaranth plants require mulching?
Yes, mulching is beneficial for amaranth plants. Apply a layer of organic mulch such as straw or wood chips around the base of the plants to help conserve moisture, suppress weeds, and regulate soil temperature. Ensure that the mulch is not in direct contact with the stems to prevent rotting.
Should I fertilize my amaranth plants?
While amaranth is relatively low-maintenance, applying a balanced fertilizer during the growing season can promote healthier and more vigorous growth. Use a slow-release fertilizer or apply a liquid fertilizer according to the manufacturer’s instructions. Avoid over-fertilizing, as this can lead to excessive foliage growth at the expense of seed production.
How can I prevent pests and diseases in my amaranth plants?
Regularly inspect your amaranth plants for signs of pests or diseases. To prevent infestations, practice good garden hygiene by removing any affected plants or leaves promptly. Consider using organic pest control methods such as neem oil or introducing beneficial insects like ladybugs to help manage pest populations naturally.
When is the best time to harvest amaranth?
Amaranth can be harvested once the flower heads have fully developed and the seeds are mature. This usually occurs around 90-120 days after planting, depending on the variety. Monitor the plants closely and harvest before the seeds start to shatter. Cut the stalks near the base and hang them upside down in a dry, well-ventilated area to allow the seeds to fully dry.
How can I store and use harvested amaranth?
After harvesting, separate the seeds from the flower heads by rubbing them gently between your hands or using a sieve. Store the seeds in an airtight container in a cool, dry place to maintain their quality. Use amaranth seeds in a variety of recipes, including as a grain substitute in salads, porridges, or baked goods.
What are some common issues encountered when growing amaranth?
Some common problems include powdery mildew, aphid infestations, and poor seed germination. Ensure proper air circulation around the plants and monitor for signs of pests or diseases. Adjust watering and fertilization practices as needed to prevent issues such as root rot or nutrient deficiencies.
What are the benefits of growing amaranth?
Growing amaranth offers many benefits. It is a versatile plant that can be used for its edible leaves, seeds, and vibrant flowers. Amaranth is also a resilient crop that can tolerate various growing conditions and has excellent nutritional value, being rich in protein, fiber, and essential minerals.

